

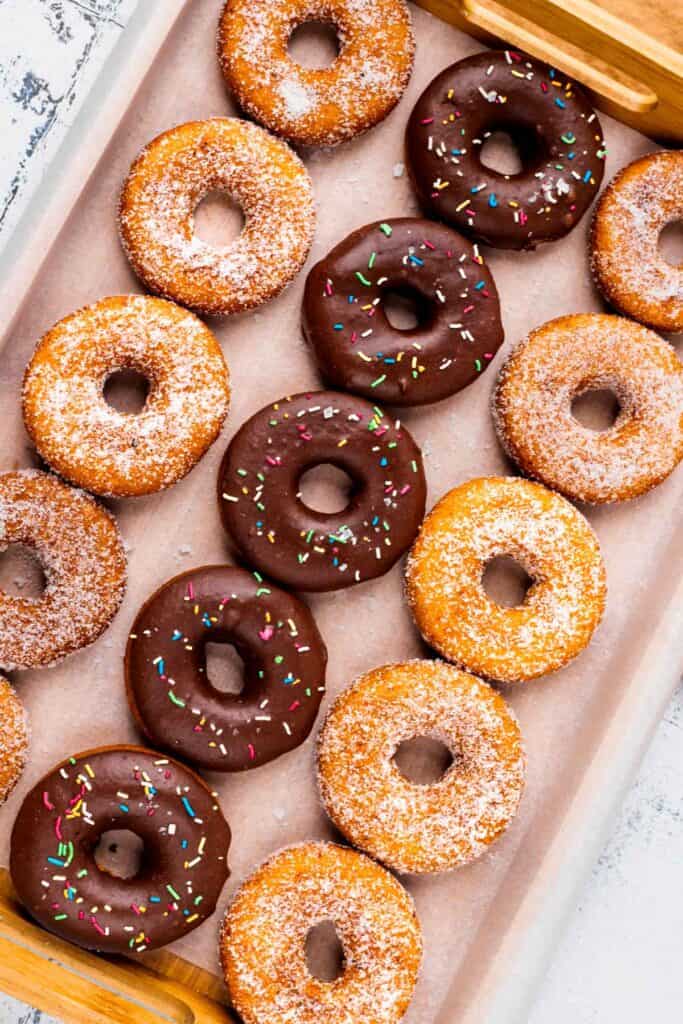
This 40-minute Gluten Free Donuts recipe is the real deal fried, bakery style one you've been looking for. Without compromising on texture or flavor, they are gluten free and delicious thanks to a great combo of gluten free all purpose flour and some other special ingredients. Now you can have a warm, mouthwatering donut in your hands that are guaranteed to satisfy your sweet tooth and smash that donut shop craving.
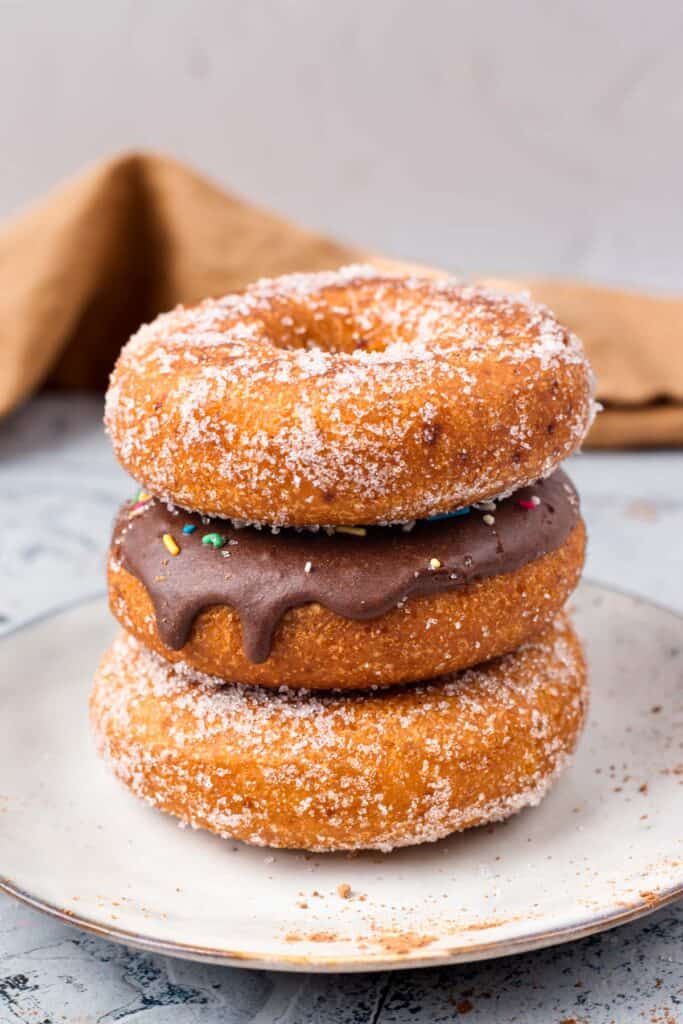
With a crispy, golden outside and an oh-so-soft interior, you won't even be able to tell these donuts are gluten-free. When I was diagnosed with celiac disease years back, I was determined to create gluten free recipes that taste exactly the same as the real deal. I created this donut recipe back in 2016 and it has been a family favorite ever since!
Why this recipe is the best
- Authentic taste and texture: Since these donuts are fried and not baked, you get the real donut taste and texture without the gluten! I have tried baked donuts and they are definitely not the same.
- Customizable: With different frosting, topping, and filling options, you can make these donuts your own. We love topping them with maple frosting and candied bacon for a really special experience.
- Convenient: Ready in under 30 minutes, this gluten free donut recipe is perfect for Saturday or Sunday mornings. My kids love waking up to the smell of fresh donuts and crispy bacon! We have made them time and again and they really can be made that quickly.
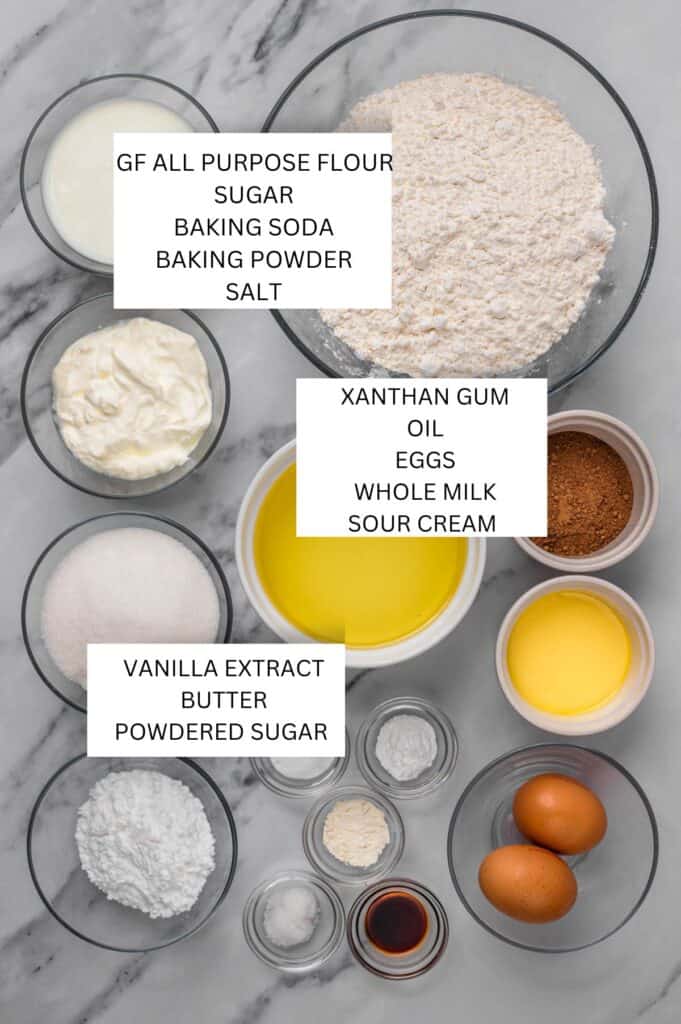
What you'll need
- Eggs - These are essential for the structure of the dough. I haven't tried them egg free so can't speak to that but have seen that the eggs definitely help in the dough.
- Milk & Sour Cream - Whole milk is best for both the dough and the homemade icing but 2% works well also. Both the milk and sour cream add richness and moisture. Don't skip this!
- Flour - For best results, I recommend using a GF cup for cup flour blend like King Arthur's gluten flour. It is made to mimic the taste and texture of regular flour, providing consistent results.
- Oil - Coconut oil or palm oil are my go-to's.
How to make The best fried gluten-free donuts
1. Making sure the wet ingredients are combined well first matters most.
2. Next you want to mix the dry ingredients in a separate bowl get rid of all the clumps, I mean, have you ever had a clump of baking soda in a recipe? It's the worst!
3. Make sure that you heavily flour (with gluten free flour of course) your surface before you roll & cut your donuts and be sure they are at least 1 inch thick.
Pro Tip: For easy handling, grease your hands with non-stick cooking spray before working with the dough. The dough should be slightly sticky.
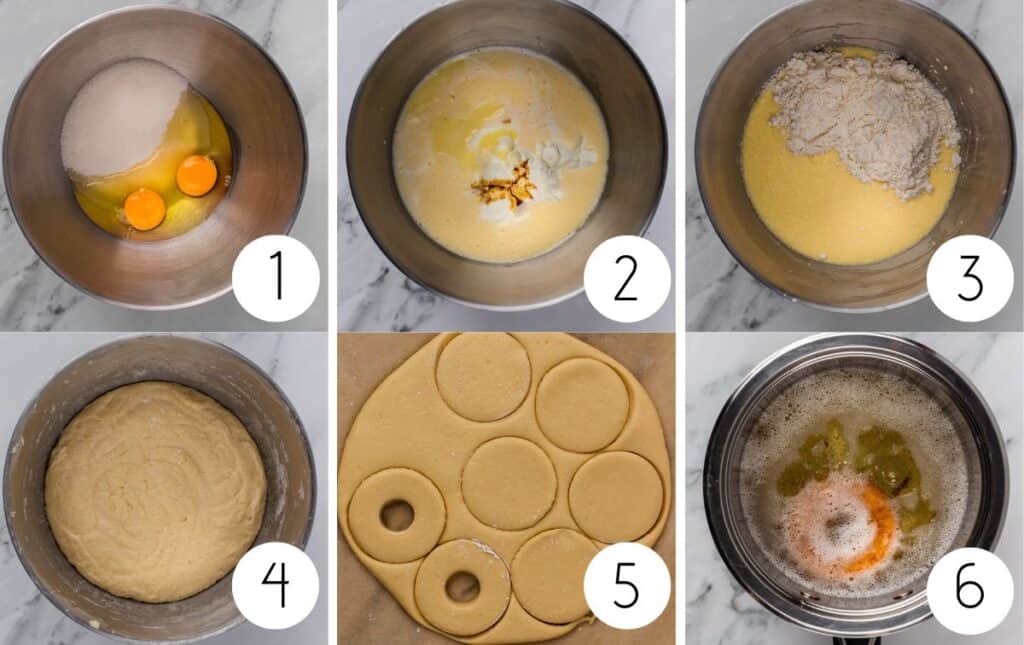
4. Frying the donuts for the perfect amount of time is essential here. I have found that 2-3 minutes per side is just about right.
5. While your donuts cool on a wire rack, it is a great time to make the frosting.
Tips for frying
Using a deep fryer or large pot works best although frying in a small pan will work if that's all you have. Do not use a donut pan as these need to be fried for that authentic flavor.
Only use hot oil, around 375 degrees works best for getting authentic, crispy on the outside, soft on the inside donuts. I like to use a thermometer to get the exact temperature.
Want some more topping or Flavor Variations
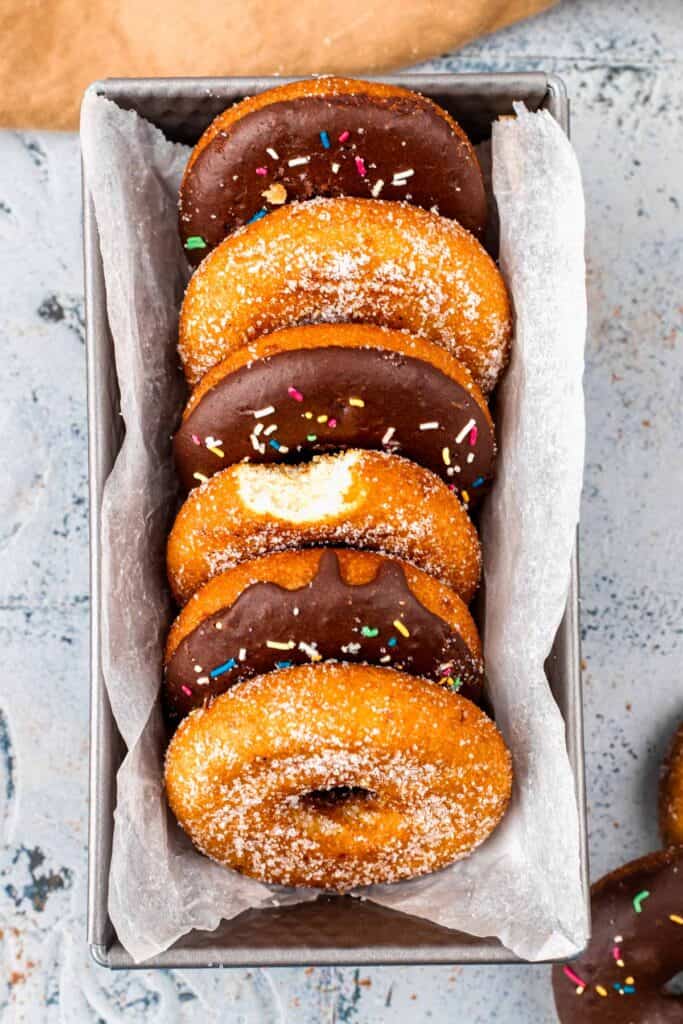
- Classic cinnamon sugar donuts: After frying, brush the donuts with a layer of melted butter. Then, roll in a cinnamon sugar mixture until coated.
- Jam filled donuts: Make donut bars instead of regular donuts, and use a piping bag to inject your favorite icing into the donut after frying. Dust with powdered sugar for a finishing touch.
- Chocolate glaze donuts: Prepare the chocolate frosting as directed in the recipe card, then top with sprinkles, crushed nuts, or coconut flakes before the glaze dries.
- Maple bacon donuts: Add 1-2 tablespoons of maple syrup to the icing recipe. Top the frosted donuts with crispy bacon for a sweet and savory contrast.

Need an EASY and delicious breakfast, lunch, dinner or dessert?
Take a look at my Sheet Pan Meals and More!
NEED MORE GOODNESS? Follow me on Facebook, Instagram, Pinterest, and Twitter for great recipes, entertaining ideas and more!
40-Minute Gluten Free Donuts (Fried, Bakery Style)

Ingredients
Wet Ingredients
- 2 eggs
- 1 cup whole milk
- 1 cup sour cream
- 1 teaspoon gluten-free vanilla extract
- 5 tablespoon butter (softened) melted
Dry Ingredients
- 5 cups gluten free all purpose flour
- 1 ¼ cup sugar
- 2 teaspoon baking soda
- 1 ½ teaspoon gluten-free baking powder
- 1 ½ teaspoon salt
- 2 teaspoon xanthan gum
- Oil for deep frying
Glaze
- ½ cup powdered sugar
- 1 tablespoon milk
- 1 tablespoon butter melted
Instructions
- In a standing mixing bowl, beat eggs and sugar
- Add the milk, sour cream, vanilla and melted butter then mix well
- In another bowl, combine flour(s), baking soda, baking powder, salt and xanthan gum
- Slowly add the dry ingredients to the wet ingredients and mix well
- On a HEAVILY gluten-free all-purpose or white rice floured counter, roll out the donut dough (It will be wet) 1 inch thick using plenty of white rice or all-purpose flour to get it pliable and to dust the rolling pin
- Cut the dough into donuts and donut holes
- Heat the oil either in a deep fryer or deep fry pan until it reaches roughly 375°
- Fry donuts for 2-3 minutes making sure to flip once
- Place cooked donuts on a baking rack over a paper towel lined baking sheet to let excess grease drain off
- Meanwhile, make an easy glaze by whisking 1 C powdered sugar, 1 T melted butter and 2-3 tsp. milk and ½ tsp. vanilla or you can also make chocolate glaze like we discuss below
- Dip warm donuts into the glaze then let then drip on a wire baking rack
Notes
How to store them
Storing - These chocolate donuts can be stored in an airtight container or pastry bag at room temperature for 3-4 days. To enjoy warm, simply heat them in the microwave for 10 seconds just like my school breakfast pizza recipe.
Freezing - You can freeze the donut dough but I would not recommend freezing the donuts after they've been cooked. Freeze in an airtight container and thaw in the fridge overnight. Fry as directed.
Pro Tip: For easy handling, grease your hands with non-stick cooking spray before working with the dough.
Nutrition
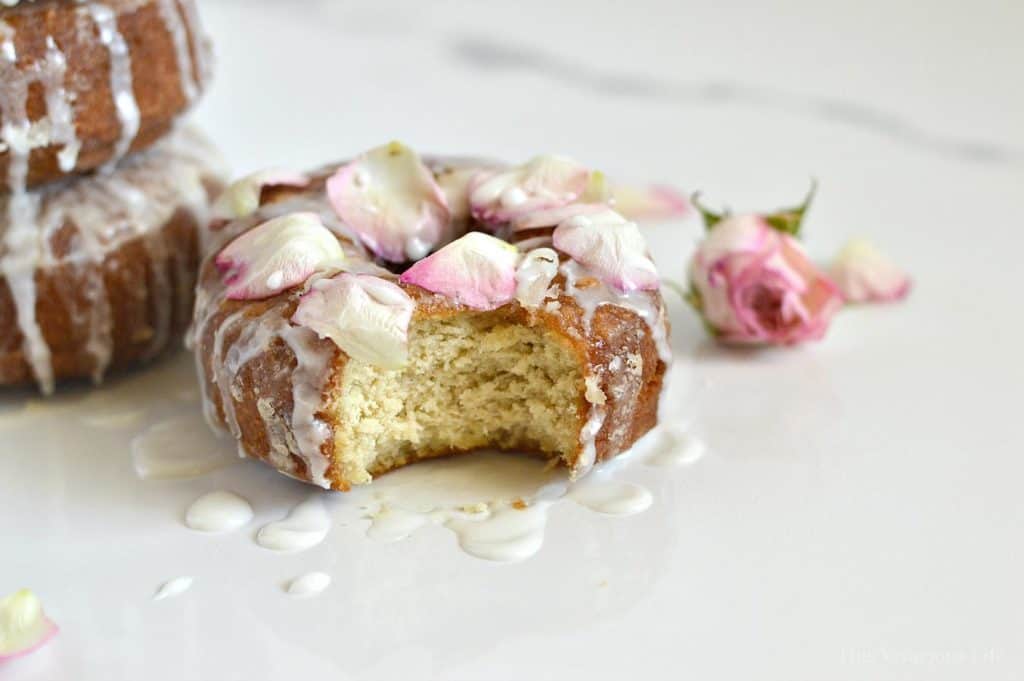
This recipe was originally published on February 7, 2016. It has been updated with new photos, pro tips and information multiple times including most recently, in December 2024. The recipe is still the same delicious recipe you know. Here are two of the old photos.
")

Annie says
Wow! Amazing! My only complaint is they took me a lot longer than 30 minutes from start to end, but the flavor is so good! So worth the time and a special GF treat indeed!
Chandice Probst says
Hi Annie,
Thanks so much for sharing. I will update that time to give people a better understanding. Thanks for sharing, glad you loved them!