

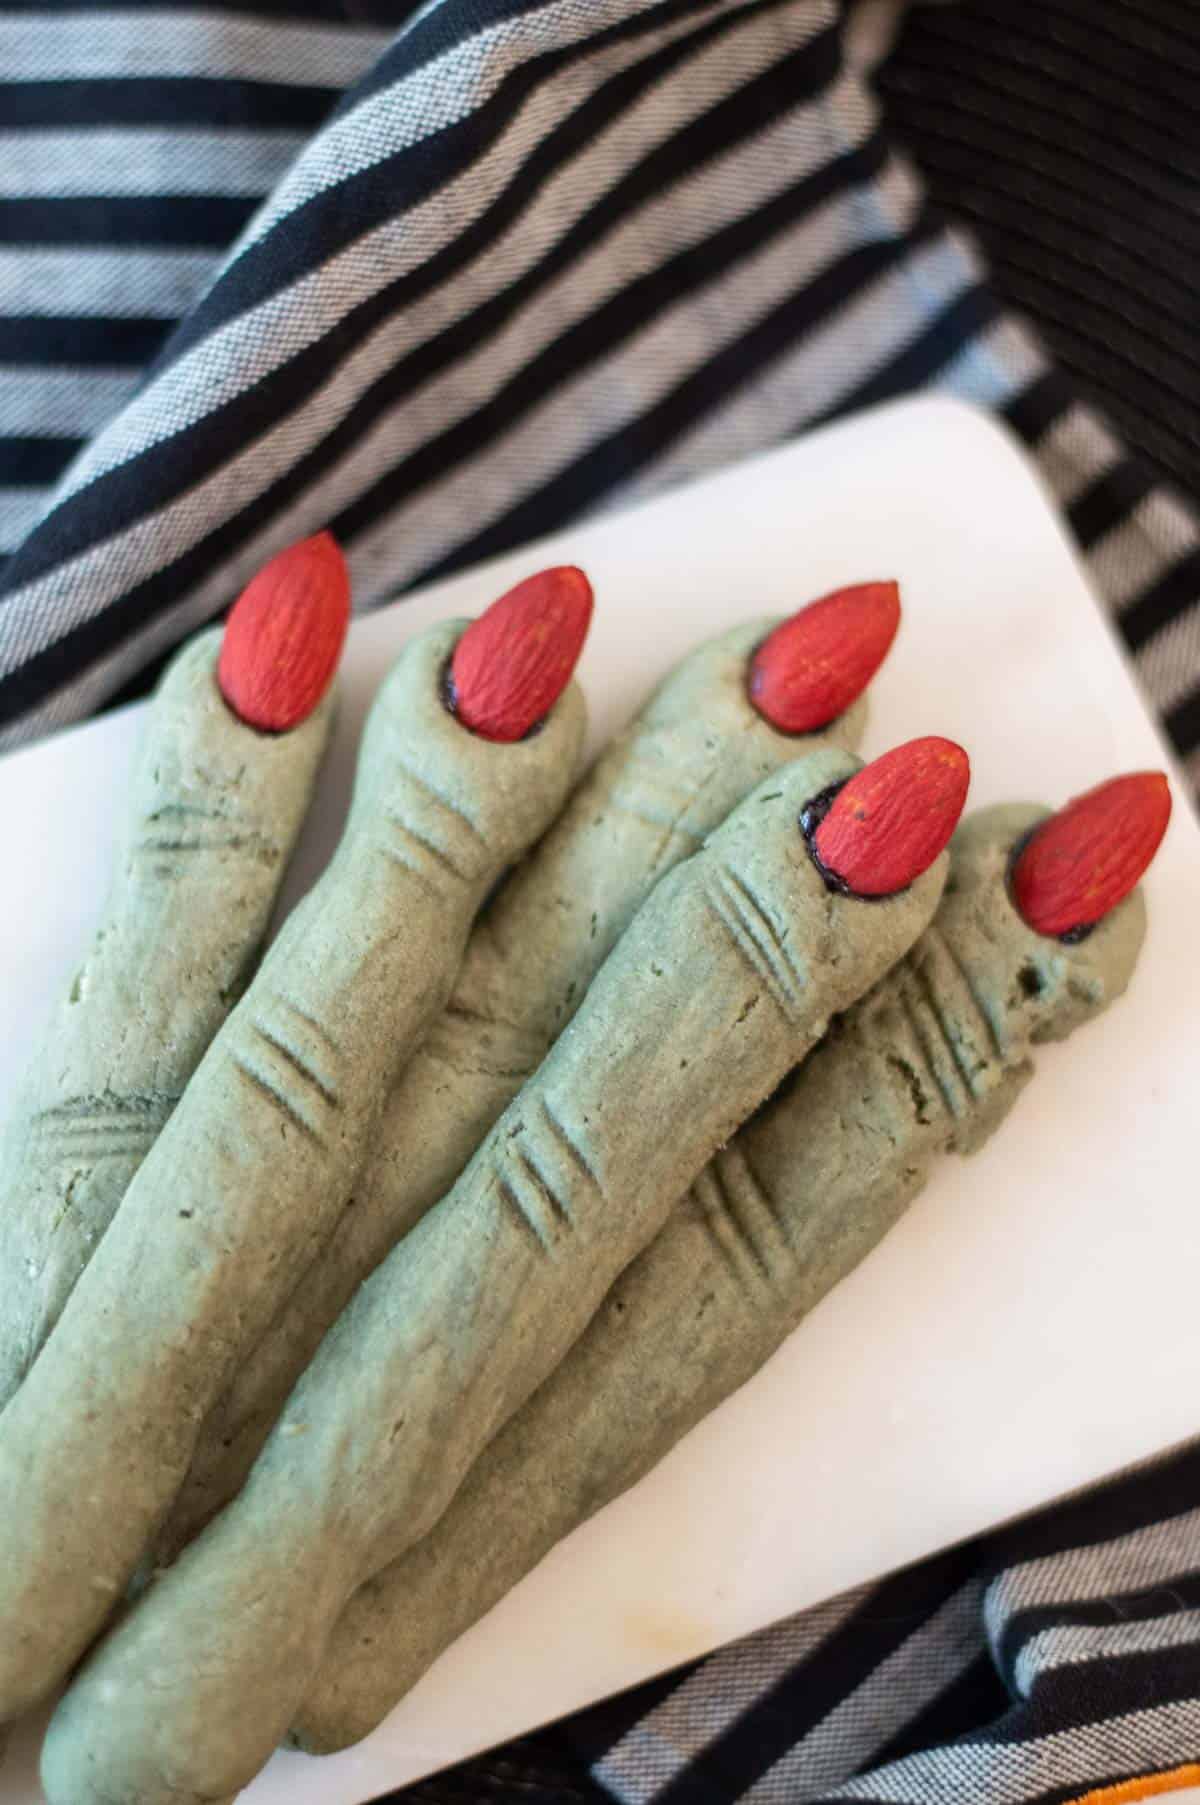
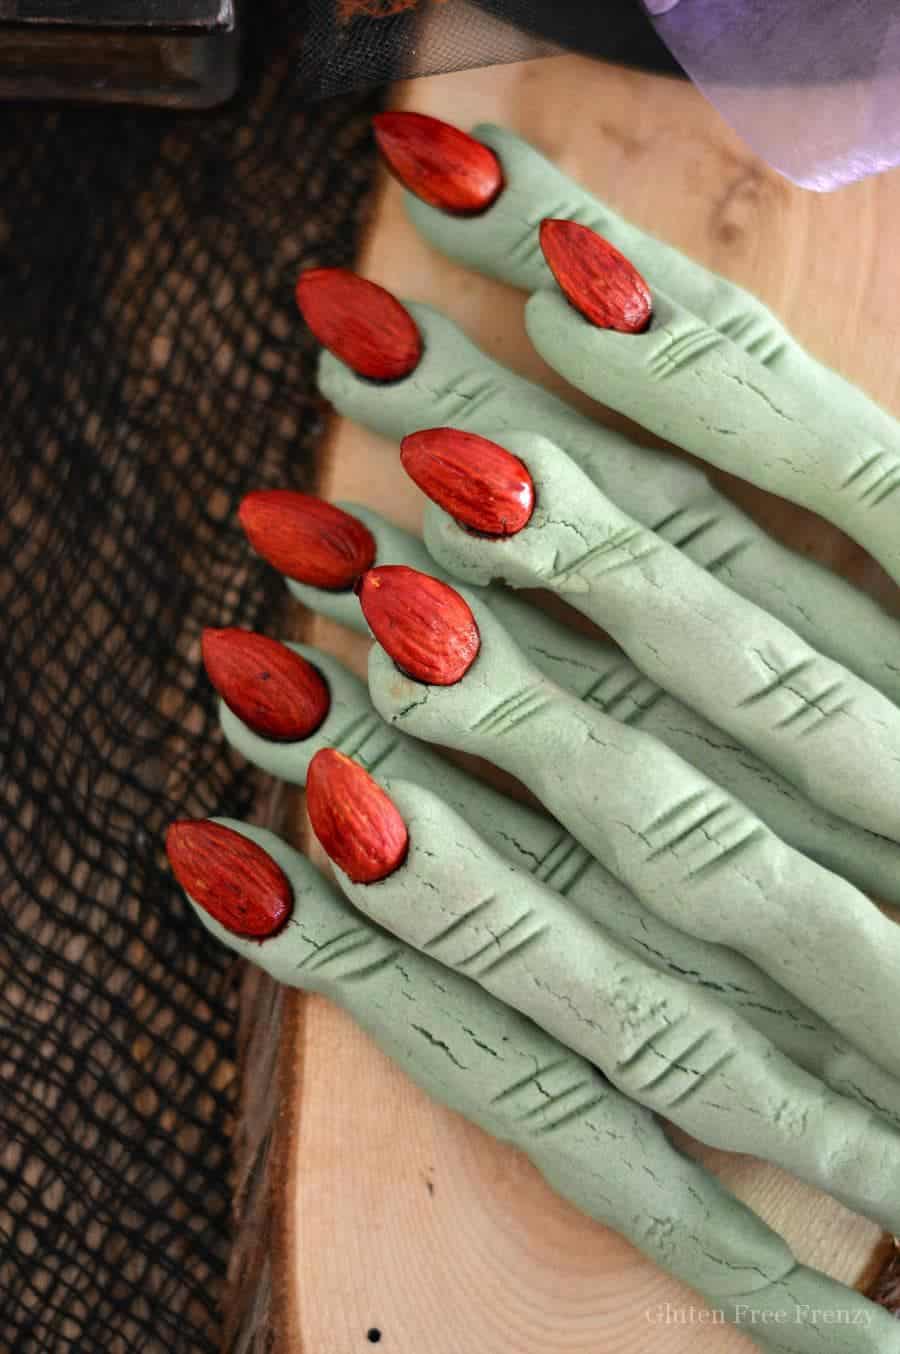
Get ready to cast a spell on your taste buds with these adorable witch finger cookies. Perfect for halloween, these treats are not only fun, but also incredibly delicious.
Soft, buttery dough with an eerie essence of green and a red almond nail makes these cookies both a trick and a treat! Whether you're hosting a halloween party or want to bake something festive, these cookies are for you.
Although these edible witch fingers are a delicious treat for halloween parties, they make a great conversation starter at any spooky event. I love bringing these or these spider chocolate chip cookies to any family gatherings during the halloween season to add a touch of spookiness.
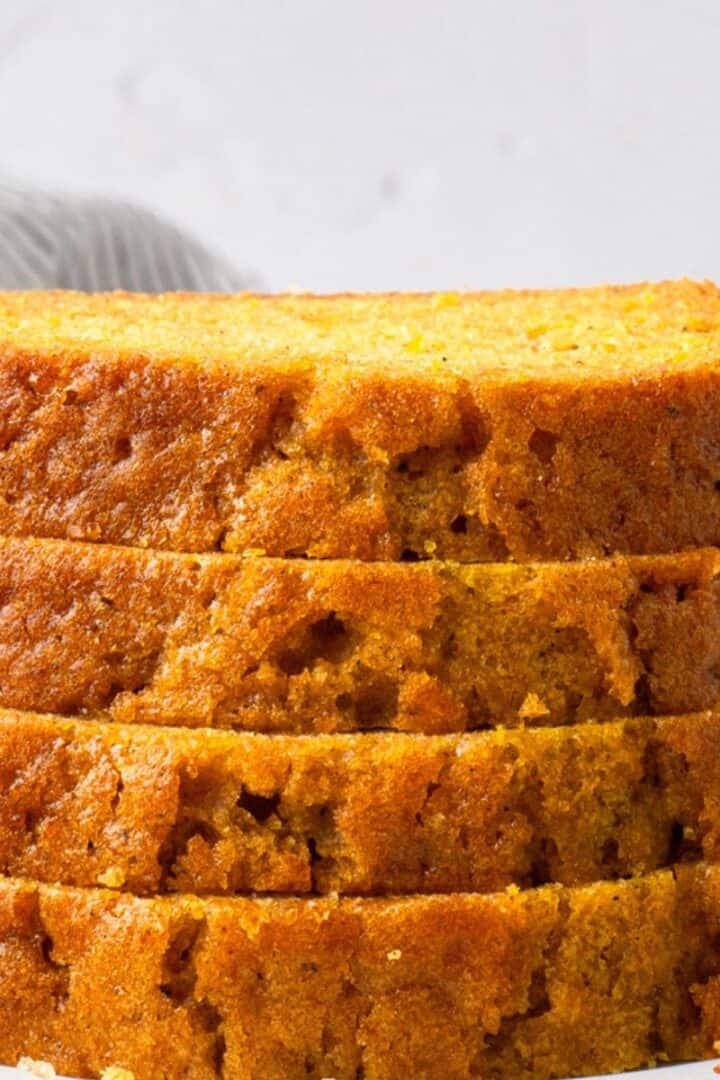
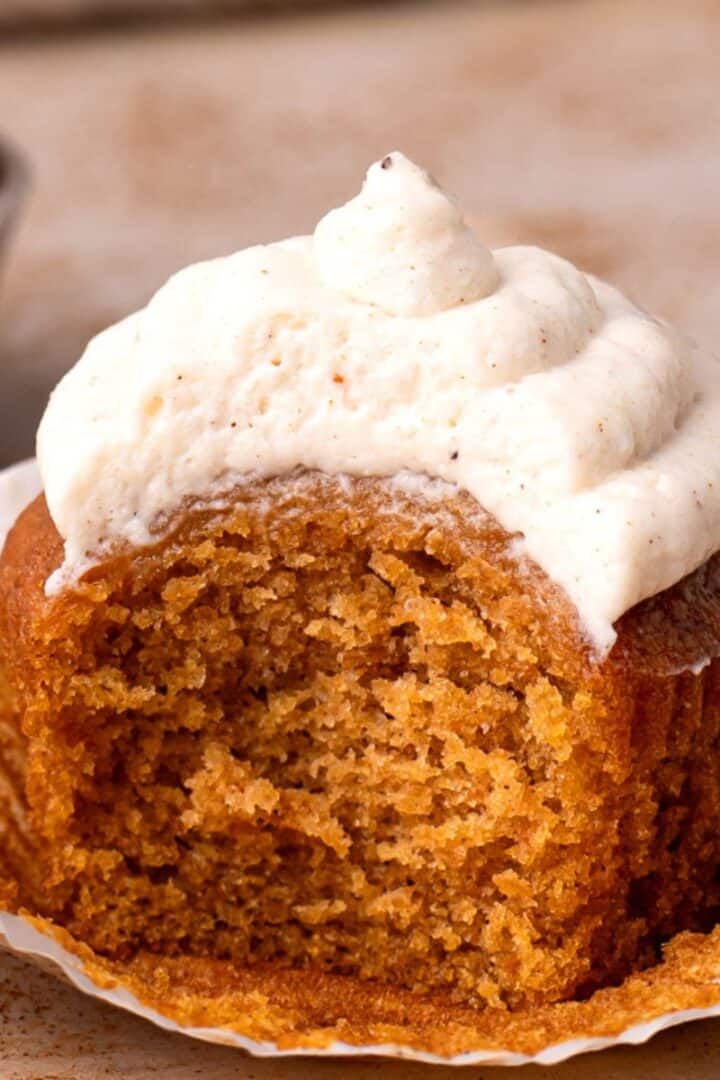
During those chilly fall months, curling up with some cookies and a cup of crock pot apple cider to watch a comfort movie is always a good idea. Or if you're hosting a party, serve these cookies with gluten free pumpkin cupcakes and smoking halloween mocktails that are guaranteed to impress.
Although these cookies are truly scrumptious, the best part is baking them with your family and friends. The kids will love rolling out the dough and helping make this halloween treat.
Why you'll love this witch finger cookie recipe
- They're delicious, yet gluten free which is perfect for kids with celiac disease or a gluten allergy. If you don't need them gluten free, you can use regular flour.
- It's a great way to get the kids involved in some fall creativity.
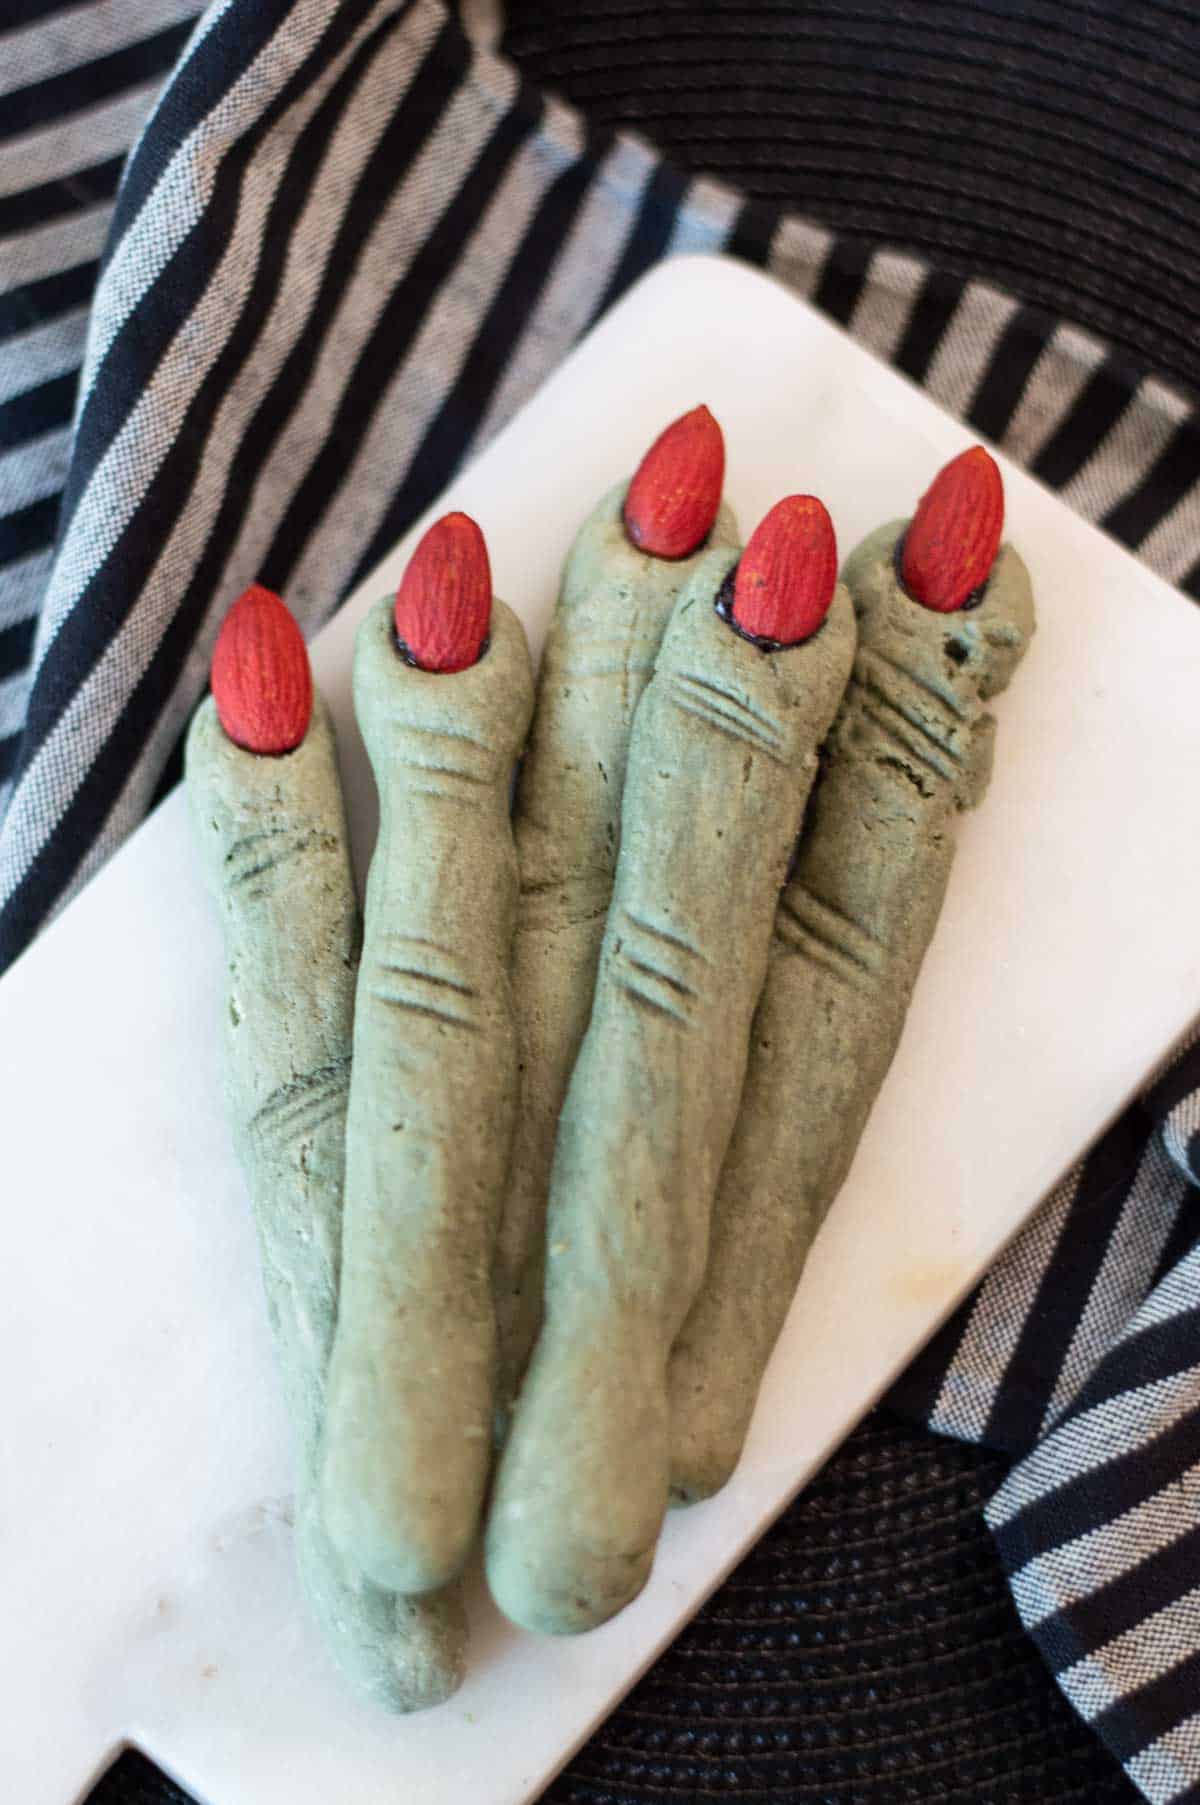
- With their impressive presentation, you're guaranteed to wow your guests by how realistic they look.
- It's a memorable treat that will leave a lasting impression on kids and adults.
- While they are fun to look at, they're even more fun to eat!

The ingredients
- Butter - Salted or unsalted butter will work for these halloween cookies.
- Sugar - You'll need white granulated sugar as well as powdered sugar.
- Vanilla - Make sure the vanilla extract is gluten free. Feel free to add a touch of almond extract for that classic sugar cookie taste.
- Eggs
- Sour cream - Sour cream keeps the cookies moist while also adding richness.
- Flour - While you can likely use any gluten-free all-purpose flour, we recommend King Arthur gluten free flour.
- Food coloring - You'll need green food coloring for the fingers and red coloring for the almonds. See the recipe card for food coloring alternatives.
- Almonds - Raw whole almonds work best.
Can I use regular flour?
Yes if you're not gluten-free, you can use regular, all purpose flour for this recipe. I still recommend using a high quality flour, even if it's not gluten free. Follow the same measurements.
Do not use almond flour, coconut flour, or another type of gluten free flour that has a different texture. These spooky witch finger cookies will not turn out the same.
How to make witch finger cookies
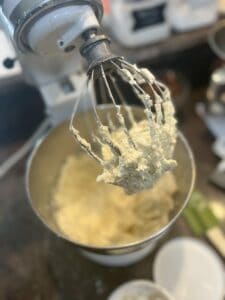
Step 1: The wet ingredients
In a large mixing bowl, use an electric mixer to beat the wet ingredients starting with butter and sugars.
Step 2: Dry ingredients
In a medium bowl, mix dry ingredients.

Step 3: Combine
Slowly mix the dry ingredients with the wet ingredients until just combined. Dough should be pliable.
Step 4: The fingers
Break off small balls of dough and roll them into long, skinny fingers.
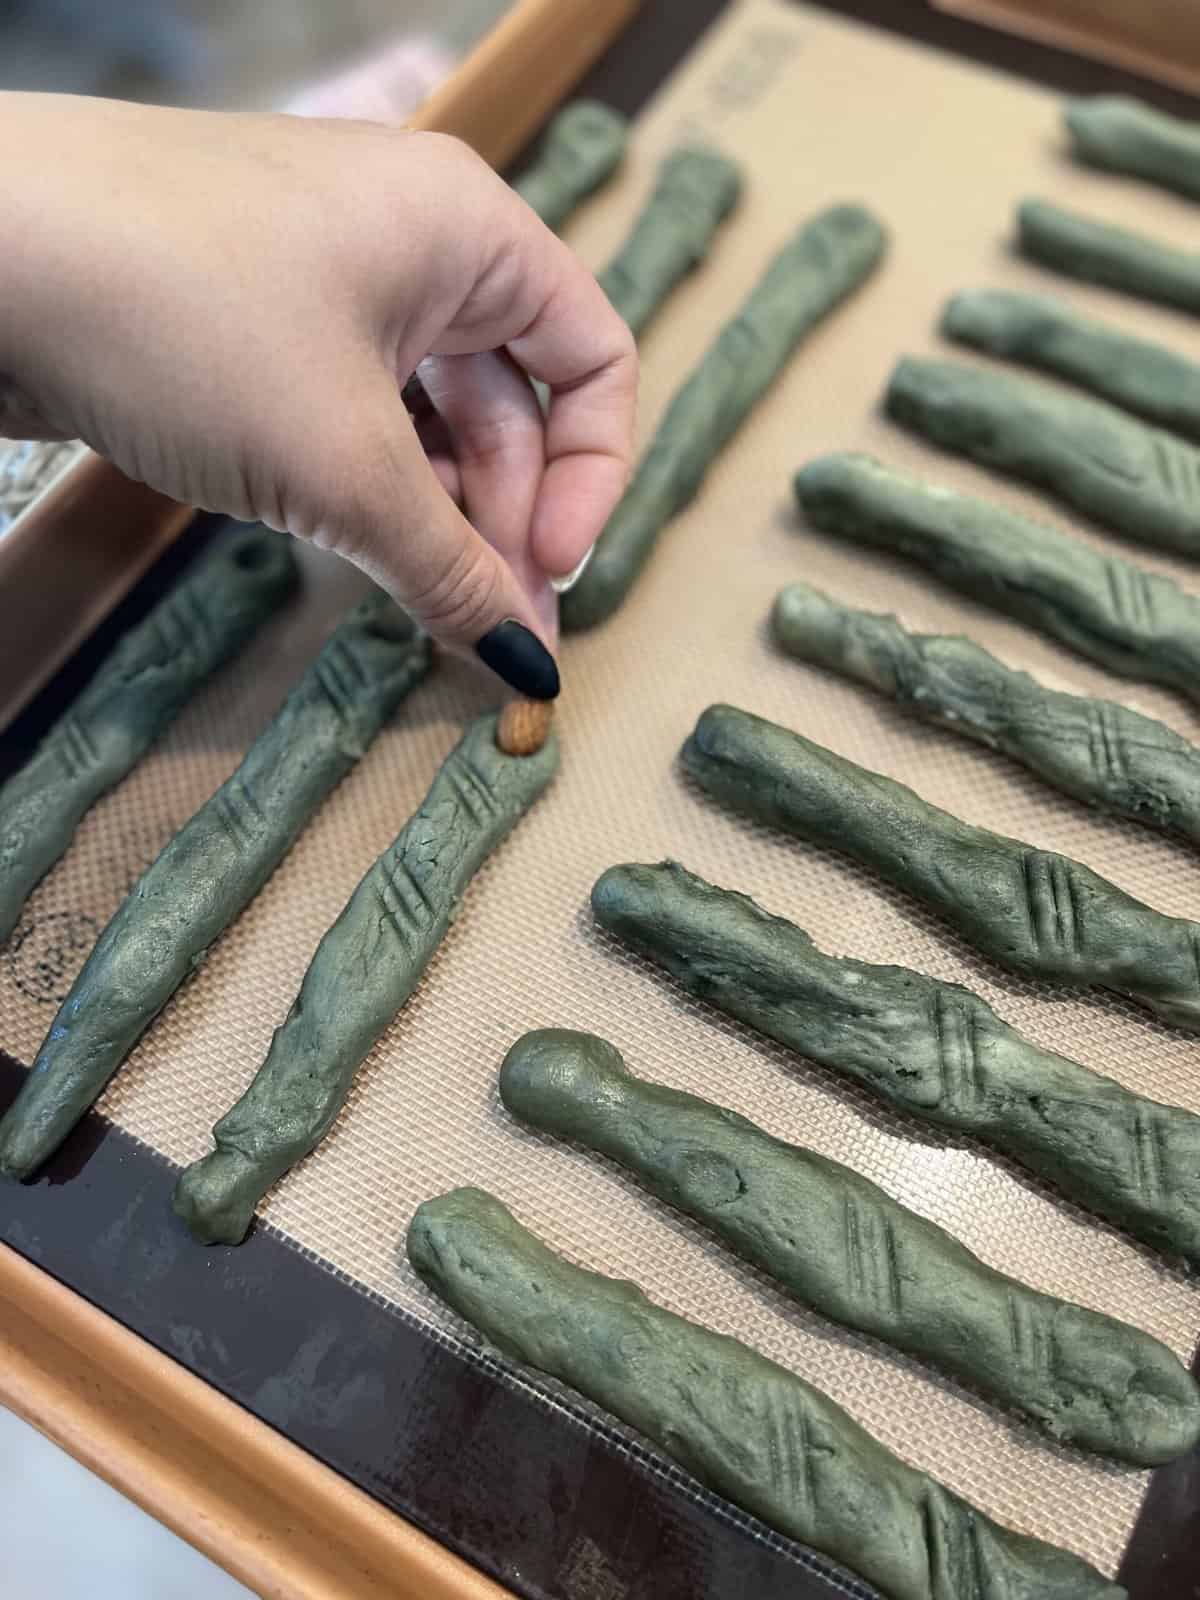
Step 5: The details
Using a butter knife, make an indent for the nail bed (almond) on the end of each finger. Then, make small slices for the finger joints.
Step 6: Bake
After chilling the sugar cookie dough for 20-30 minutes, bake the witches fingers on cookie sheets lined with parchment paper until the bottoms are golden brown.
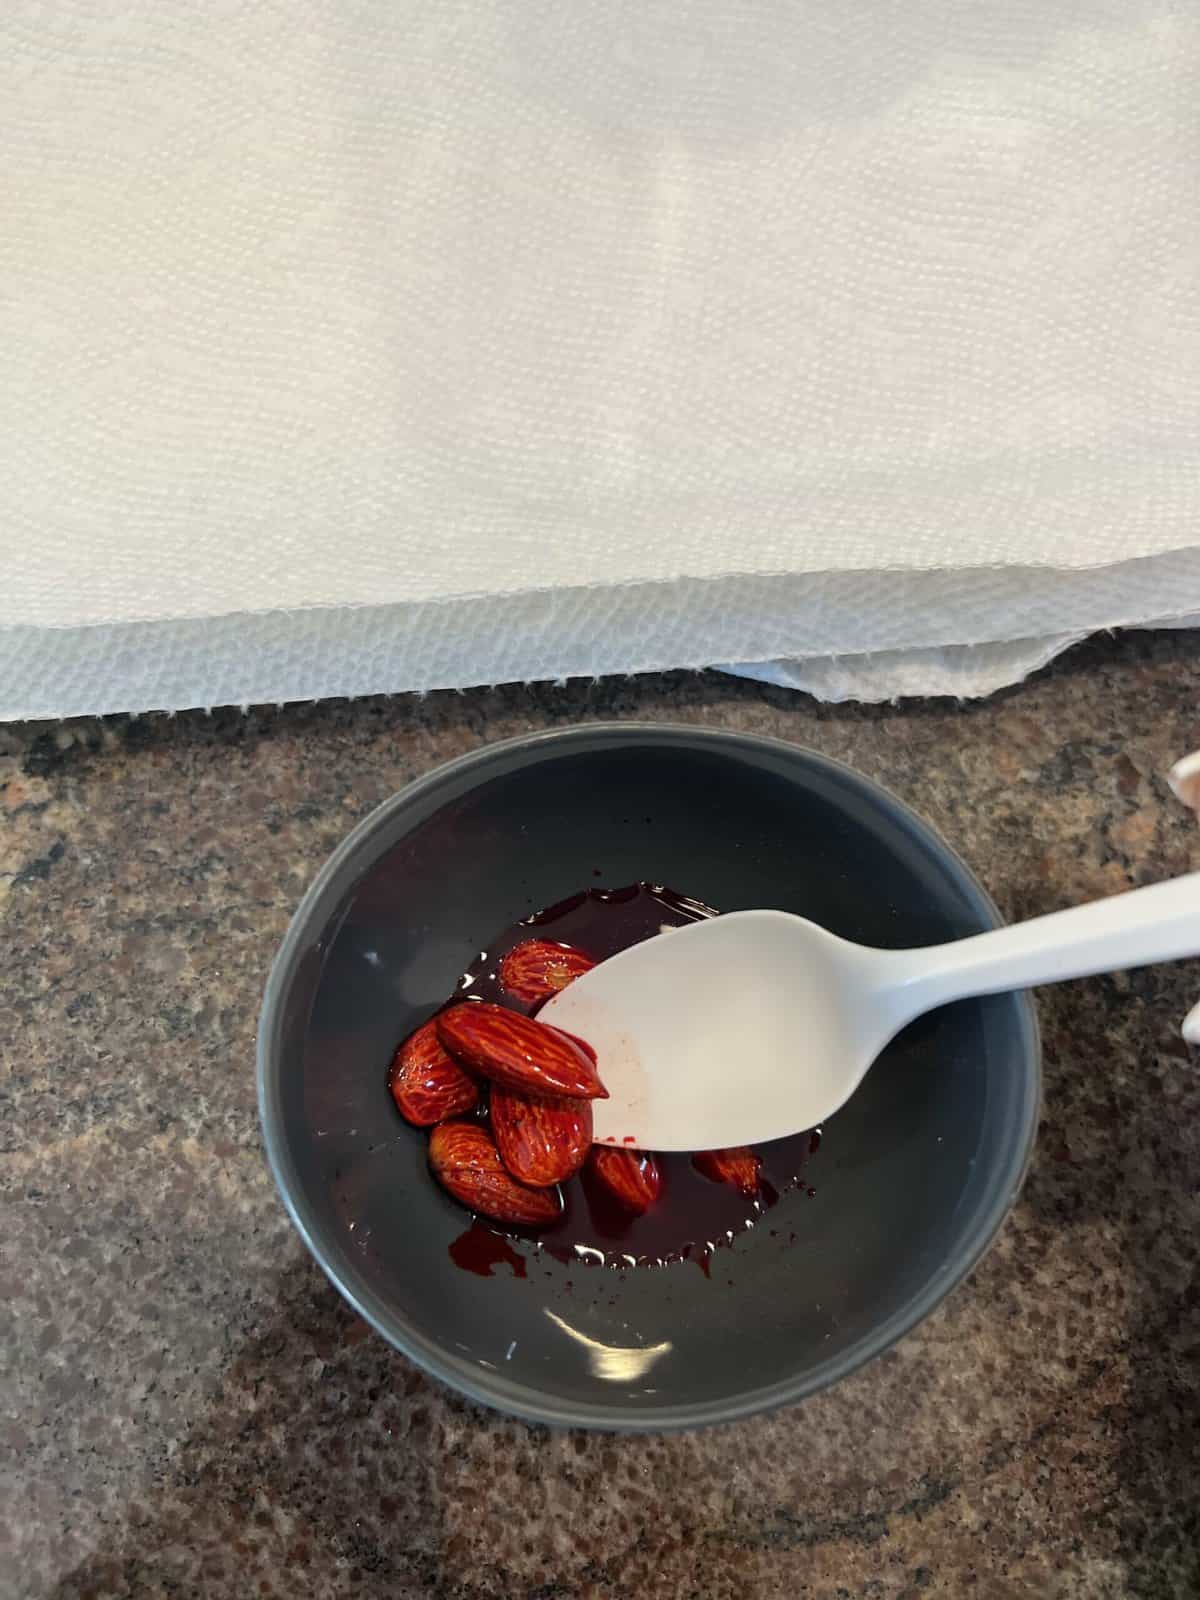
Step 7: Final touches
While the sugar cookies are baking, use food coloring or koolaid mix to dye the almond fingernails red. When the cookies are done, place them on using frosting.
Tips for making the best halloween cookies
- For best results and better shape retention, chill the dough for at least 30 minutes before baking.
- These spooky witch fingers will expand while baking so it's best to make thin fingers.
- Use a sharp knife for a realistic and clean finger joints
- A frosting adhesive between the cookie and the "nail" will ensure it sticks well.
Can I make these cookies in advance?
Yes you can make these cookies a day in advance and they'll still taste fresh. I would not recommend making them more than one day in advance or the texture might be slightly different.
What can I use instead of food coloring?
You can use chlorophyll, matcha powder, or spinach powder will work in replace of green gel food coloring. You can also replace red gel food coloring with beet root powder or red koolaide mix.
Storage
Storing - You can store these cookies at room temperature in a ziplock bag or airtight container for 3-4 days. Placing a slice of bread (gluten free!) in the bag will help prevent them from going stale.
Freezing - Feel free to freeze these cookies or the cookie dough for up to 3 months. If freezing the dough, let it thaw at room temperature for a few hours then bake as directed.
More recipes you'll love
- This halloween charcuterie board is an easy recipe that's festive and so much fun to put together.
- If you have some extra time on your hands, make these halloween sandwiches for the kids lunch.
- A halloween cheeseball would make the perfect addition to your next halloween party.
- This halloween meatloaf is a great recipe for those busy weeknights when you want something easy, yet delicious. Plus, it's halloween themed!
Need an EASY and delicious breakfast, lunch, dinner or dessert?
Take a look at my Sheet Pan Meals and More!
NEED MORE GOODNESS? Follow me on Facebook, Instagram, Pinterest, and Twitter for great recipes, entertaining ideas and more!
Witch Finger Cookies

Ingredients
- 1 cup butter softened
- ½ cup sugar
- ½ cup powdered sugar
- 2 teaspoon gluten-free vanilla
- 1 egg
- 1 cup sour cream
- 4 ½ cups gluten-free all-purpose flour
- 2 teaspoon baking powder
- 1 teaspoon baking soda
- 1-2 teaspoon green food coloring or chlorophyll
- Raw almonds about 36-48
- Red food coloring OR red koolaide mixed with just a touch of water to make a paste
Instructions
- Preheat oven to 350 degrees
- Beat the butter then add sugars and mix well
- Add egg, vanilla and green food coloring or chlorophyll and continue mixing
- Stir in the sour cream

- In another bowl, combine flour, baking powder and baking soda
- Slowly add flour mixture to butter mixture and mix, adding more a little at a time and mixing
- Knead dough until pliable and easy to break pieces off to work with
- Break off 1-2 inch balls and roll between hands to make a long finger shape (make them skinnier than you'd think as they expand a bit)
- Add knots where needed and indent where the "nail" will go with your pinky or an almond
- Using a knife, slice three times just under where the nail will go and in the middle of the cookie.
- Place on a silicone mat lined baking sheet then refrigerate for 30 minutes
- Remove from fridge and bake at 350° for 9-11 minutes or until the bottom is golden brown.
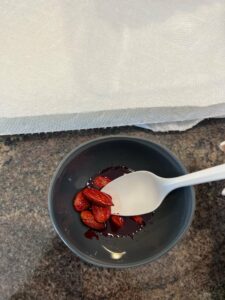
- Meanwhile, "paint" the almond nails using red food coloring or red koolaide mixed just slightly with water OR add them to a bowl and cover with red coloring then remove with a spoon to a paper towel lined plate to dry
- Once removed from the oven, use frosting as an adhesive and add a small dot to the cookie and lay almond "nail" on top


Notes
Nutrition
This recipe was originally published October 13, 2016. It has since been updated with new photos. Here is the original photo...

May says
Hi there! I appreciate your gluten free witches fingers recipe, however, in your ingredients you list 1 cup of sour cream, but don’t say when to add. I didn’t notice until I was forming my dough so I tried to mix it in. After baking, I found that they were a little dry with a sour cream taste. Where did I go wrong? 🤷🏻♀️
Look forward to your reply
May
Chandice says
Yes, the sour cream is necessary in the dough. I added the instruction to put it in with the wet ingredients. I apologize for that over sight. I hope you will try them again...
May says
Thank you for clarifying. I will definitely try them again!
All the best,
May
Cynthia Robson says
I've been making the non GF version for years and now have to do GF. For the nails, I place the almond on the finger and bake with it on. Then I lift the almond, place a bit of red gel at the cuticle and replace the almond. Works very well for consistent shape and nail placement.
Chandice says
That is such a great idea! Thanks 🙂
Ellen says
Do you really preheat the oven, make and refrigerate the dough overnight, and *then* use the preheated oven to bake the cookies? 🙂
Chandice says
Haha no that was a typo 😉
Celeste says
Oooooooh, my kids will LOVE this!
Chandice says
Hey Celeste, yes they totally will! It's like playing with playdough shaping them but the fun of eating them is even better 🙂
KC @ G-Free Foodie says
Oh my lord Chandice, those look REAL! Fabulous!
Chandice says
Thanks girl!! The kids were tickled pink...or green! 😉
Heather says
these are SO much fun!!
Chandice says
Thanks Heather! They are so fun to serve at a Halloween party and see the reaction on peoples faces when they come in. 😉
Chrystal @ Gluten-Free Palate says
Those are the best witch fingers I've seen!! Can't wait to make these with my girls.
Chandice says
Thanks Chrystal, I hope your little gals love them as much as my kiddos did!! <3
Amanda Kanashiro says
How fun are these! They definitely have the spooky Halloween factor!
Chandice says
Thanks girl! Yeah, the kids love serving them up for a Halloween gathering 🙂
jules says
So fun! I make Witches' Fingers Bread Sticks every year (they're not green, though!). It's always a hit - bet yours are, too! 🙂 So creative! xoxox
~jules
Chandice says
Thanks Jules, yes the kids LOVED them!! Since they don't have to be perfect, it was fun to them to help shape and be involved. Love your breadsticks too!