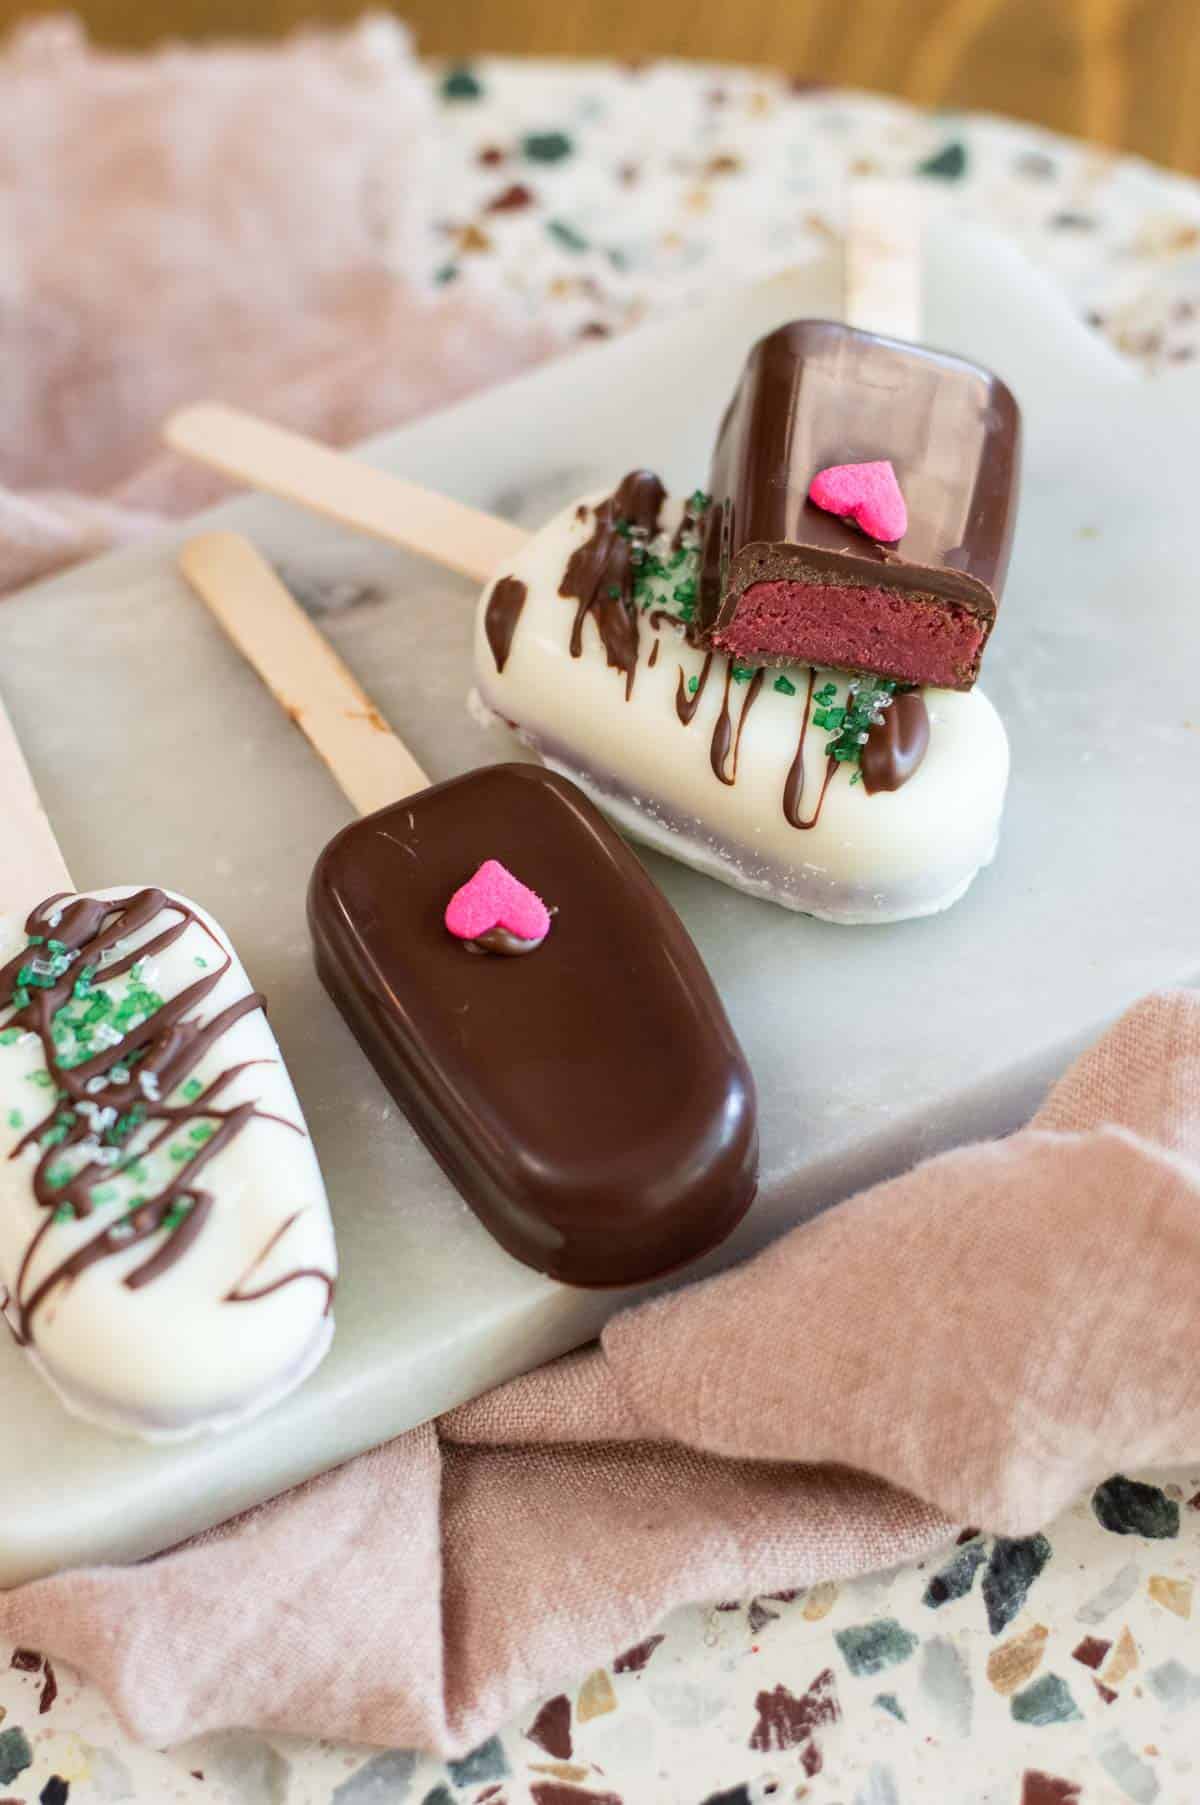
These easy cakesicles are a fun spin on the traditional cake pop. While they look professionally made, they’re surprisingly easy to make. With only three ingredients these are going to be your new go-to sweet treats.
Cake popsicles are great for birthday parties, a special occasion, or to have around the house. They’re just a tad bigger than cake pops which makes them a great single serving dessert.
One reason I love this recipe is because I can use leftover cake and frosting. My orange chocolate cake with marshmallow frosting tastes great in these popsicles. And if you like chocolate cake, you’ll love my easy Dr. Pepper cake recipe, drip cake and bento cake as well.
You can use any type of cake and frosting combination for this recipe which is another reason why I love it. A chocolate cake mixed with peanut butter frosting creates a Reece’s flavored cakesicle!
If you’re looking to serve these cake pop popsicles with another dessert I recommend my ice cream cake pops. There’s nothing better than the classic cake and ice cream combination! I love that this recipe is great for when you make a cake and it turns out to be a flop in looks because you just crumble it up anyway.
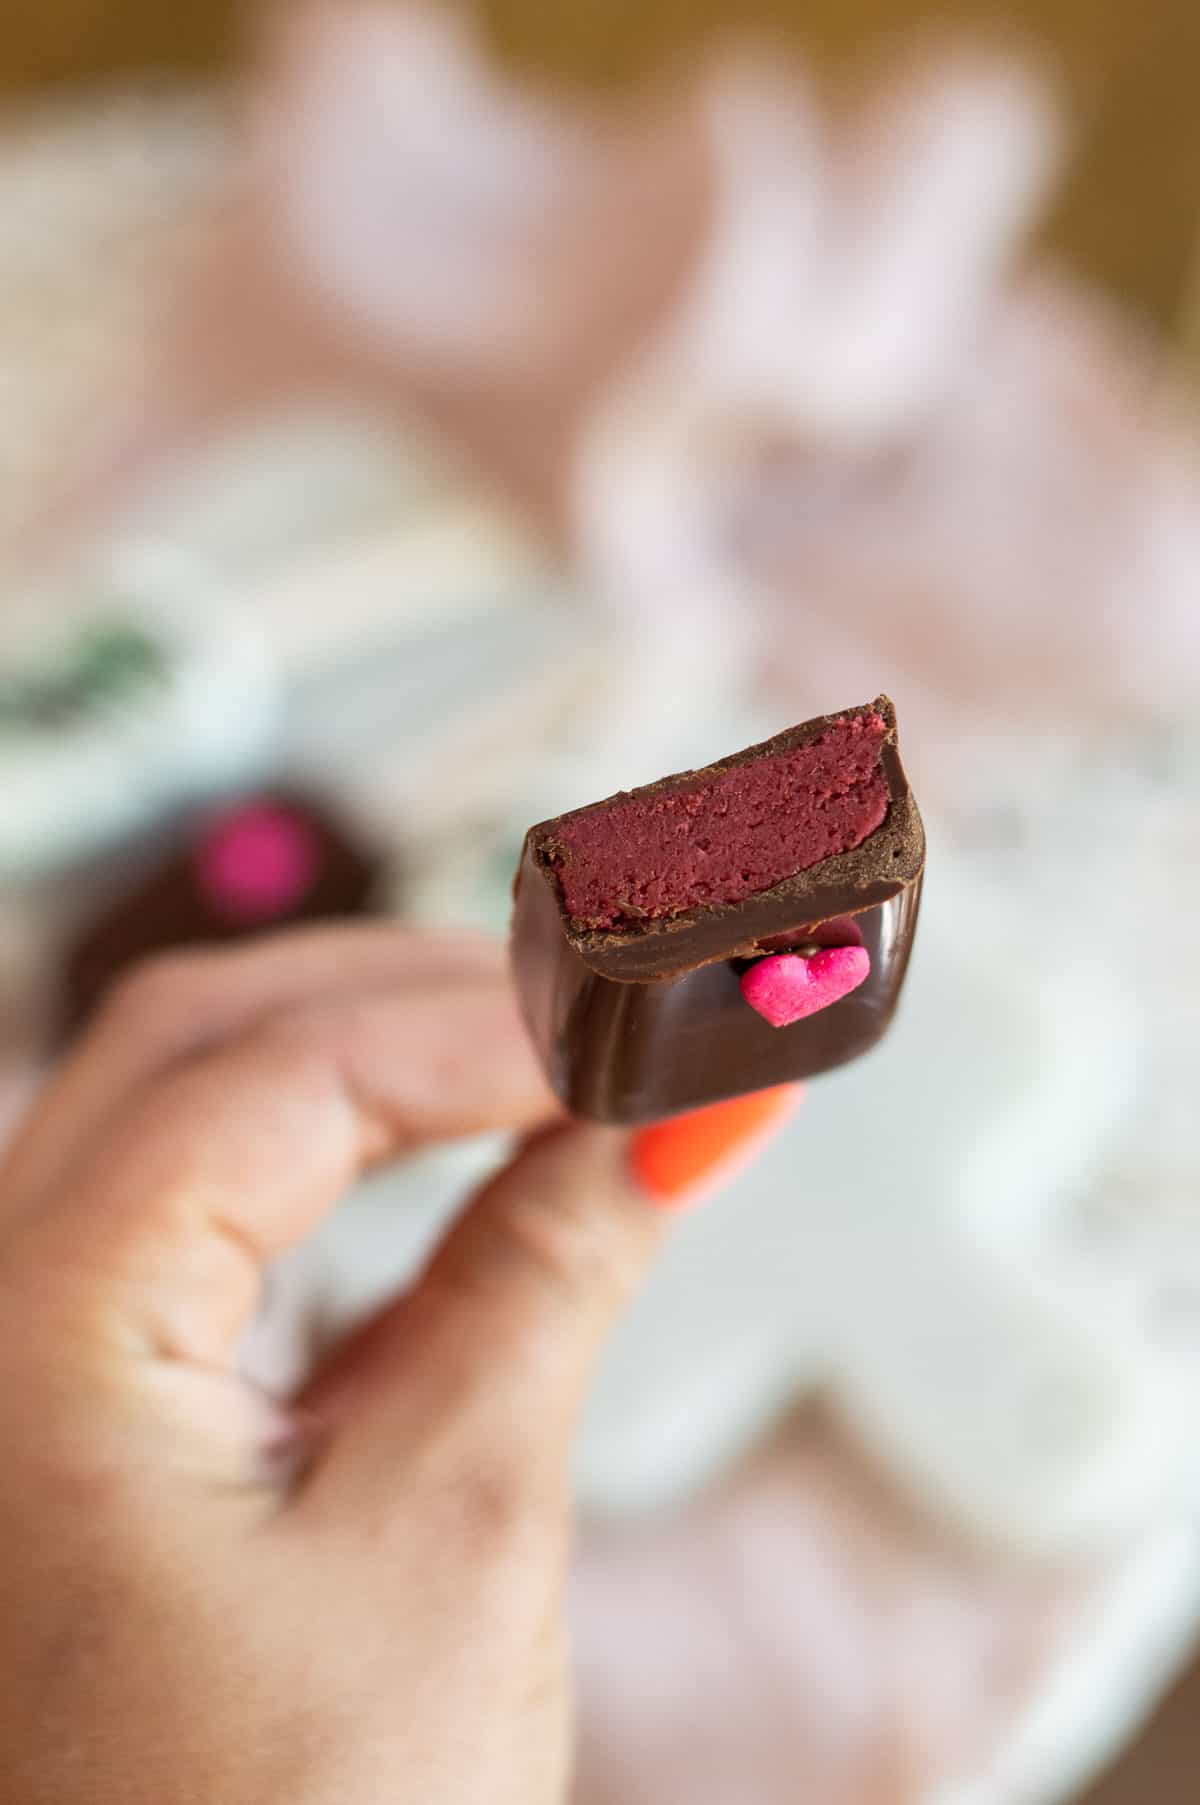
What’s the difference between cakesicles and cake pops?
A cake pop is made by rolling a cake and frosting together into a ball and dipping into a chocolate coating. Cakesicles on the other hand are made by lining popsicle molds with chocolate melts and filling with the cake mixture.
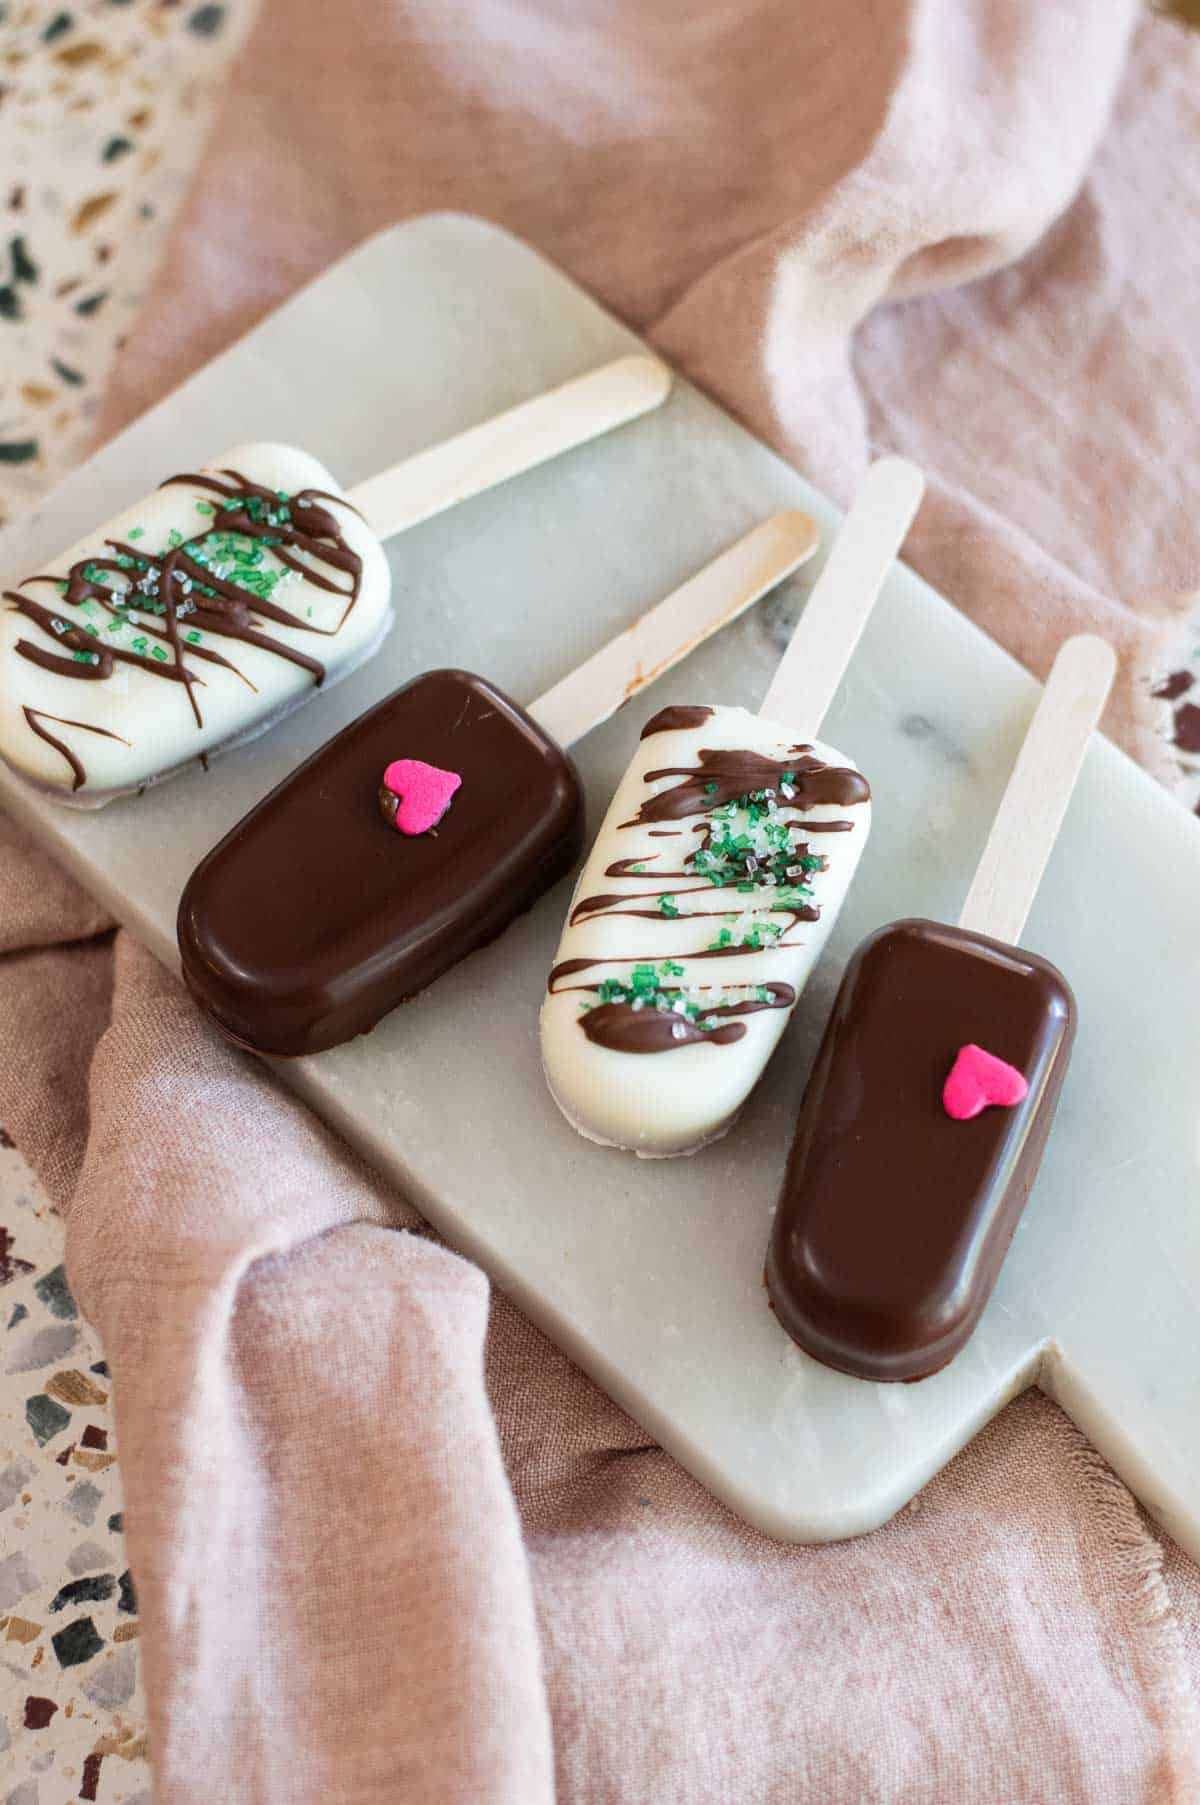
What are cakesicles made of?
For this easy recipe you only need 3 ingredients. Feel free to add more toppings or switch the flavors of any ingredient.
Cake
You’ll need two 8 inch round cakes to make 48 cakesicles. Box cake mix works great and you can also use leftover cake as well.
Frosting
I prefer to use cream cheese frosting, buttercream frosting, or whipped but you can use whatever kind you’d like. A generous amount of frosting will help keep your popsicle cake pops moist.
Chocolate
I like melted white chocolate but you can use dark chocolate, milk chocolate, or white candy melts.
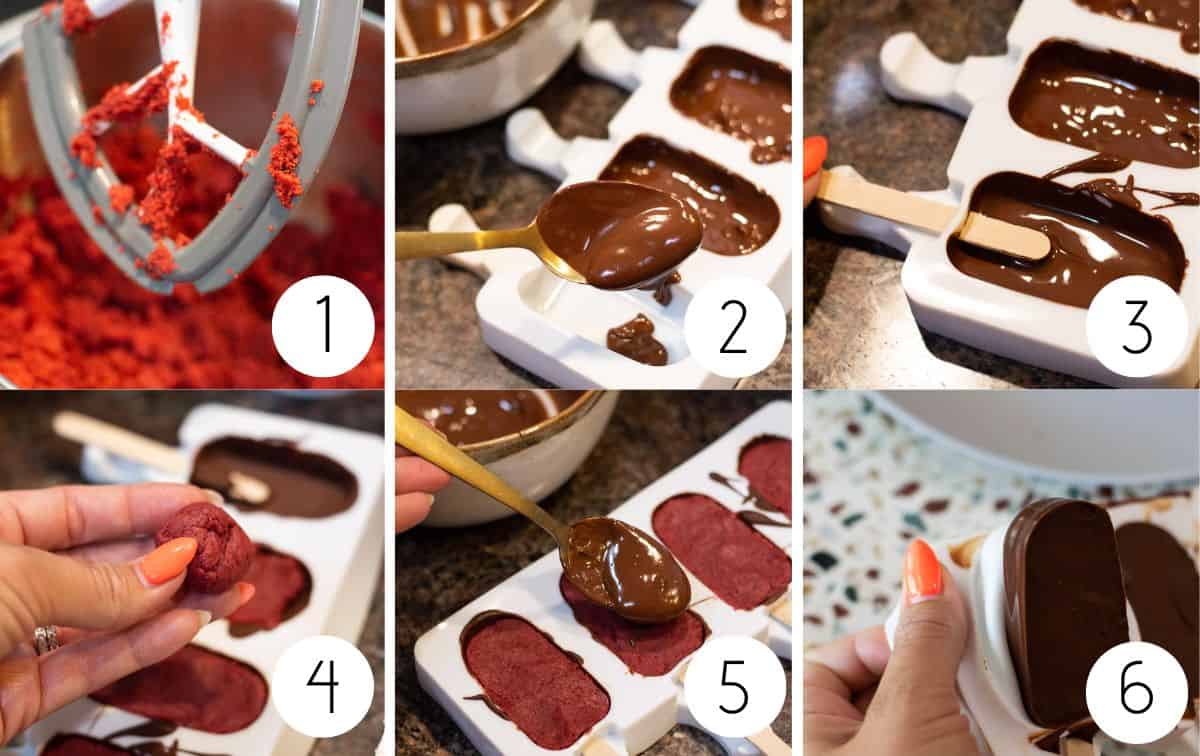
How do you make cakesicles?
You can make these cakesicles with a popsicle mold, cakesicle stick, and a few easy steps. See the recipe card for the full list of instructions.
For the cake filling
Step 1: Crumble your prepared cake mix in a large bowl
Step 2: Thoroughly mix it with the frosting until a smooth texture is reached and everything is incorporated
For the chocolate coating
Step 1: Put 1 tablespoon of melted chocolate into the sides of the mold, one at a time.
Step 2: Smooth the chocolate into a thin layer all around the inside of the mold making sure to coat the bottom and go up the sides, repeat with all of your popsicle cavities.
Step 3: Slide a popsicle stick in to place in all the molds and add a bit extra chocolate around each to secure them.
Step 4: Place the mold into the refrigerator until the chocolate shell hardens.
Step 5: Gently press the cake filling in the hard chocolate coated molds leaving a small space at the top for the additional chocolate layer, repeat with all of your popsicle cavities.
Step 6: Spoon a teaspoon of chocolate for 1 1/2 x 2 1/2 molds and 1 1/2 teaspoon for the 2×3 larger molds over top and spread it to cover all cake, repeat with all of your popsicle cavities
Step 7: Use an offset spatula or scraper, remove any excess chocolate making it a flat line level with the mold
Step 8: Chill for 5 minutes in the refrigerator until the chocolate layer hardens then unmold the cakesicles by gently pulling back the mold from the chocolate and sliding out the popsicle stick from the cakesicle mold.
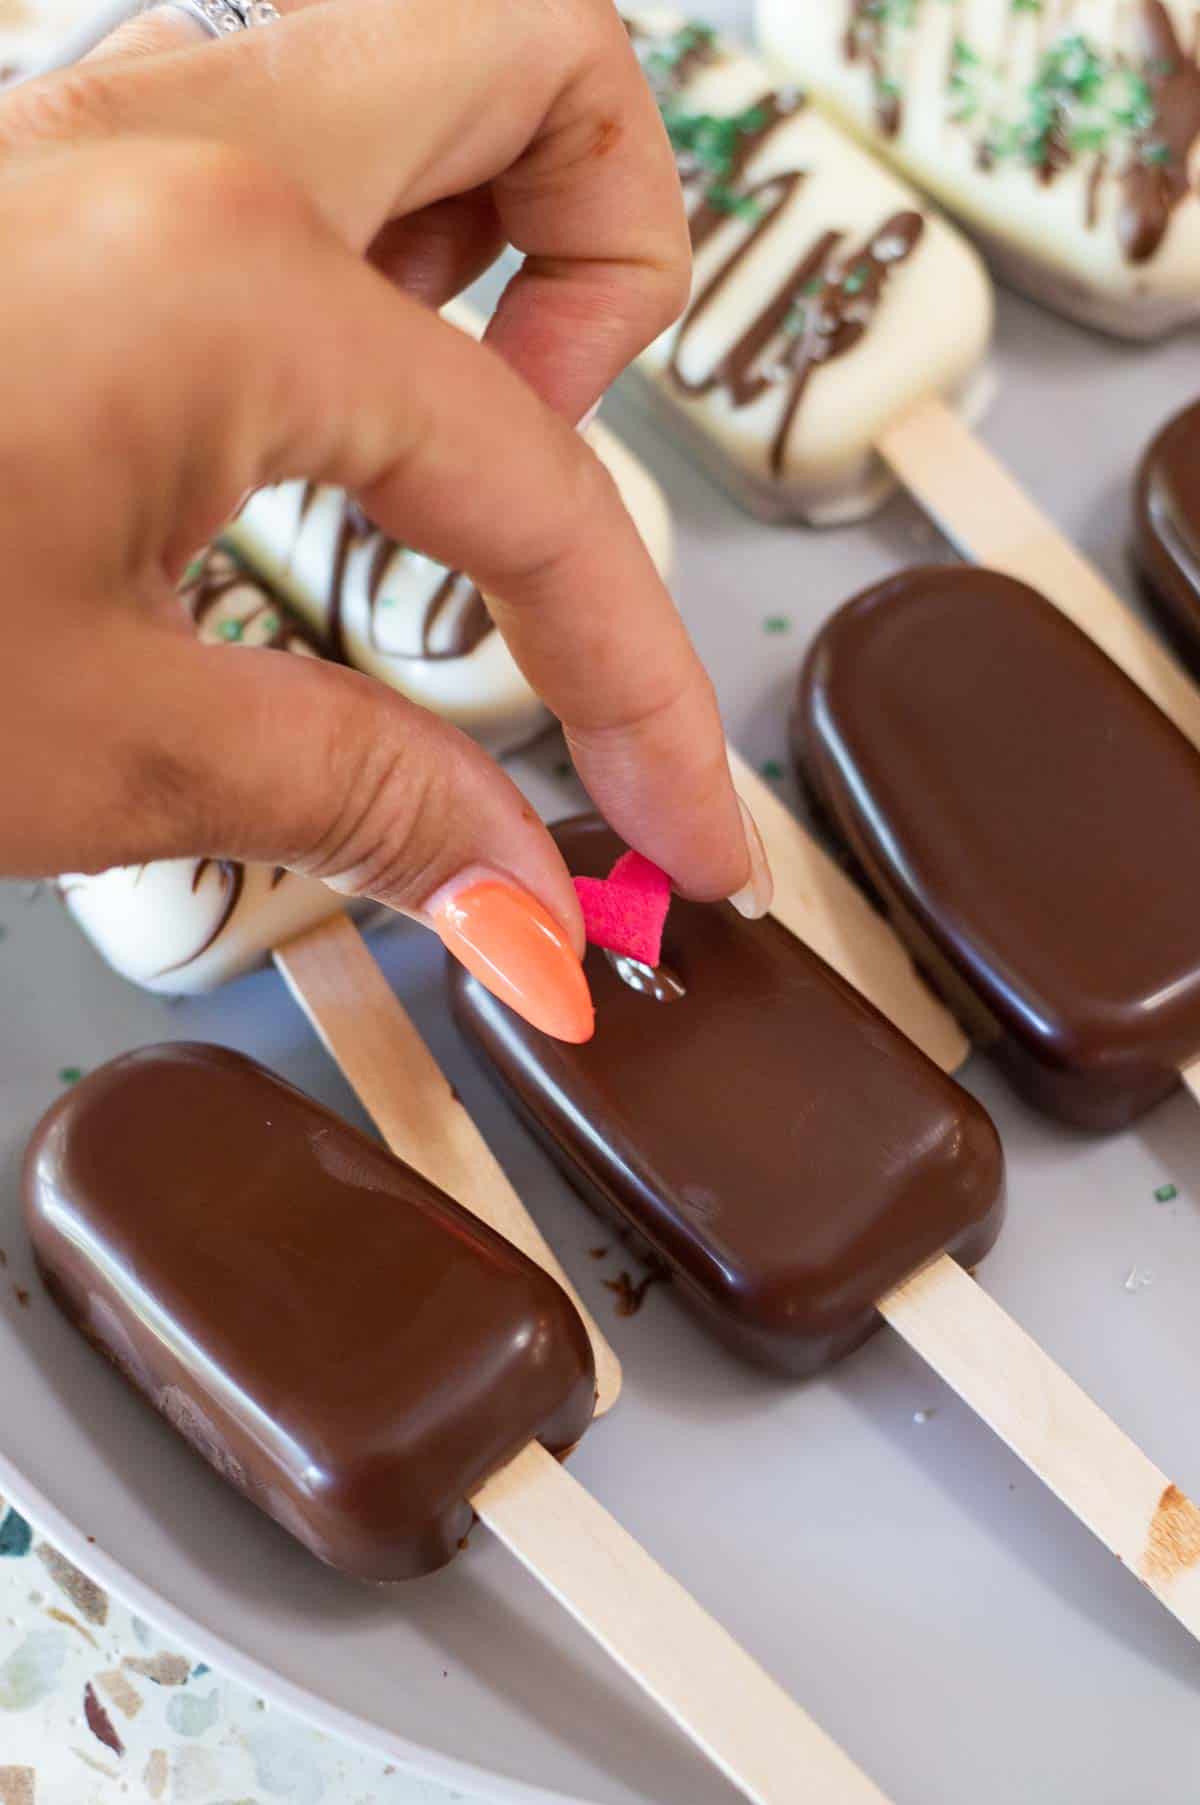
Step 9: Decorate the molds with more melted chocolate in different colors and top with sprinkles right after, or use frosting to stick edible gems on them.
Pro tip: Melt chocolate chips with coconut oil or cocoa butter in a microwave-safe bowl in 30 second intervals to avoid burning. Coconut oil will also help the chocolate harden.
Expert tips and FAQs
You can keep cakesicles for 1-2 days at room temperature, 1 week in the fridge, or up to 1 month in the freezer. Storing them in plastic wrap or an airtight container will preserve freshness.
You can dip cakesicles in a melted chocolate bar, colored candy melts, white chocolate chips, regular chocolates, or any kind of chocolate. It’s up to personal preference and what you have on hand.
No you don’t need to refrigerate cakesicles unless the cake filling requires refrigeration. Most cake does not need to be refrigerated therefor you’re fine keeping the cake pops at room temperature.
Need an EASY and delicious breakfast, lunch, dinner or dessert?
Take a look at my Sheet Pan Meals and More!
NEED MORE GOODNESS? Follow me on Facebook, Instagram, Pinterest, and Twitter for great recipes, entertaining ideas and more!
Cakesicles (Easy Cake Popsicles!)

Ingredients
Cake Filling
- 2 8 inch round baked cakes in your favorite flavor
- 1/2 cup prepared frosting
Chocolate Shell
- 32 ounces melted milk chocolate OR melted almond bark/candy coating
Instructions
Cake Filling
- Crumble your prepared cake mix
- Thoroughly mix it with the frosting until a smooth texture is reached and everything is incorporated
Chocolate Coating
- Using a spoon, put 1 tablespoonful of chocolate into one 1 1/2 x 2 1/2 inch popsicle mold at a time (if you are using the 2×3 inch larger molds, use 1 1/2-2 tablespoons instead)
- Smooth the chocolate into a thin layer all around the mold making sure to coat the bottom and go up the sides, repeat with all of your popsicle cavities
- Slide a popsicle stick in to place in all the molds and add a bit extra chocolate around each to secure them
- Place the mold into the refrigerator to chill for 5 minutes until the chocolate shell hardens
- Gently press 1 tablespoonful of the cake filling in the hard chocolate coated molds (smaller) leaving a small space at the top for the additional chocolate layer, repeat with all of your popsicle cavities (for 2×3 larger molds, use 1 1/2-2 tablespoons of cake filling)
- Spoon a teaspoon of chocolate for 1 1/2 x 2 1/2 molds and 1 1/2 teaspoon for the 2×3 larger molds over top and spread it to cover all cake, repeat with all of your popsicle cavities
- Use an offset spatula or scraper, remove any extra chocolate making it a flat line level with the mold
- Chill for 5 minutes in the refrigerator until the chocolate layer hardens then unmold the cakesicles by gently pulling back the mold from the chocolate and sliding out the popsicle stick from the mold
- Decorate the molds with more melted chocolate in different colors and top with sprinkles right after, or use frosting to stick edible gems on them






Erin says
How cute are these?! I made these for a pool party and they were so cute! Everyone complimented them and a few asked for the recipe! Yes, they are cute, but they are also SOOO yum!