

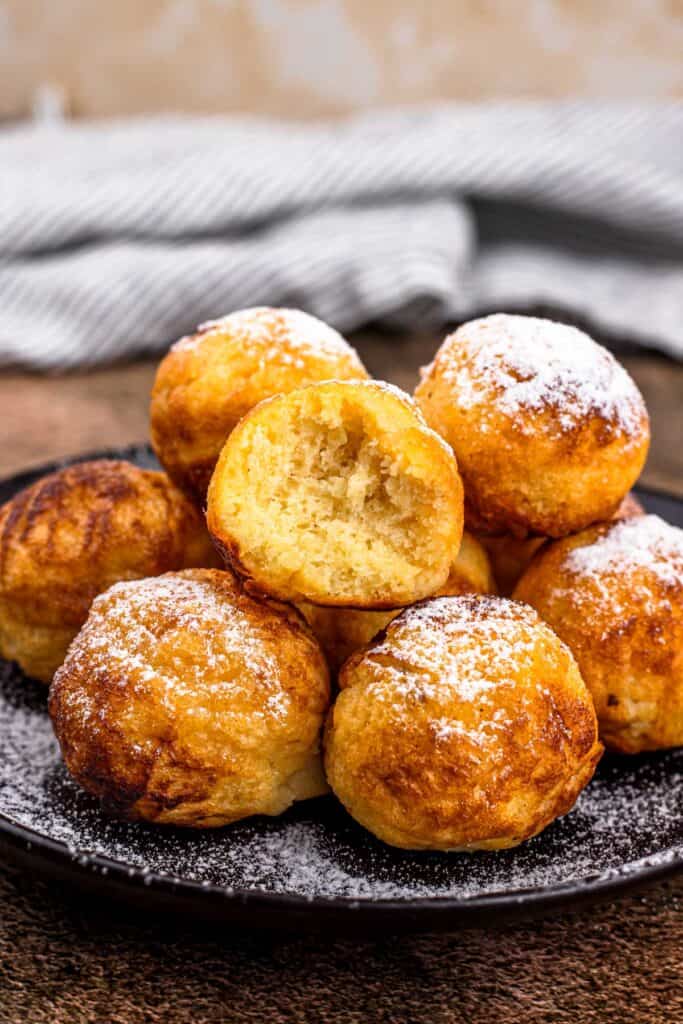
Our traditional and authentic Ebelskivers, or small Danish pancakes recipe yields light, fluffy puffed pancakes with endless possibilities for fillings and toppings. This recipe has been a family favorite passed down through our Danish grandmothers and only requires a few simple ingredients and one special pan.
If you know me, you know I'm all about traditions. Every Christmas, I make a big batch of Ebelskiver Danish puff pancakes for the kids and they look forward to it every year.
One of the things I love most about this recipe is that it's so versatile. You can serve them with sweet, or savory sides and everyone can customize them with their own toppings. Perfect for picky eaters or large groups of people!
Why you'll love these Danish pancakes
- They're versatile: We've also found through making this recipe many times, that you can easily fill them with things like jam or Nutella for a fun surprise inside. And for a true celebration, serve them with our non alcoholic mimosa.
- Simple ingredients: Another great thing about this recipe, like our gluten free pancake mix, is that the ingredients are pantry staples. You can make these with regular flour or gluten free. We have tried both and they always work great.
- Authentically made: We kept grandma's simple recipe and use an authentic ebelskiver pan which is traditionally made from cast iron with several small, round wells that create the classic fluffy, ball-shaped pancakes. While some pans are made from ceramic or another material, I find that using a cast iron pan gives it the most authentic flavor and texture.
Here are some key ingredients you need to make Danish pancakes

- Flour: I like to use all purpose gluten free flour and have found after much trial and error, that King Arthur brand gluten free measure for measure works best but Bob's Red Mill will also work. Of course, my grandma made them with regular flour in her kitchen and that works great if you're not gluten-free.
- Eggs: 2 eggs, separated. This is the key to getting them light and airy. You want to separate the eggs and whip the egg whites until they are forming peaks then gently fold them back into the batter making sure not to over mix them. We've had people tell us that this is what they loved most about our recipe over others and found them to be much lighter because of this step.
Let's make grandma proud and get cooking...
If you have ever watched videos of ebelskiver experts flipping perfectly round little pancakes, it can feel a bit defeating when your own first batches look less than perfect. The good news is that ebelskivers truly do have a learning curve, especially if you are using a vintage cast iron pan. If your ebelskivers are edible but not quite round yet, you are doing just fine.

- I love making these as simply as possible with just two bowls. The first will be where you mix together the dry ingredients. Or save yourself a dish and do it in a large quart measuring cup.

- The second bowl will be where you combine the wet ingredients MINUS the egg whites which come soon. Then you whisk in the dry ingredients to make a nice smooth batter.
Ebelskiver Troubleshooting and Tips for Beginners
The pan needs to be greased GENEROUSLY. Even a well seasoned cast iron ebelskiver pan needs more fat than you might expect. Like, ALOT.
A few helpful reminders:
- Brush a generous amount of melted butter or oil into each well, coating the sides as well as the bottom. You can even spray them generously with cooking spray.
- The pan should look shiny before the batter goes in and the oil should go up the sides with the batter when it gets poured in (then you know you have enough).
- If the ebelskivers are sticking, the pan needs more fat. Sticking is almost always a greasing issue, not a recipe issue.
When it comes to tools, you do not need anything fancy, but thinner is better. I recommend a wooden skewer, bamboo chopstick or any thin wooden pick.
Metal tools can tear the delicate skin that forms, and silicone tools are often too soft to get under the edge cleanly. But I have had success with a mini, really thin silicone spatula before as well.
Timing the first turn makes a big difference. If the ebelskivers will not rotate easily, they need a little more cook time. Look for edges that look set and a slightly golden crust.

- Here's that amazing step to getting the fluffiness you are hoping for in these little puff pancakes. Yep, whip those egg whites good!

- Always, always fold in egg whites gently barely incorporating them into the batter to keep it light.
Once you see that, gently loosen the edge and rotate the ebelskiver about a quarter turn. This allows the uncooked batter to flow underneath and helps create a round shape. If you wait too long, the batter will not flow as easily, which can lead to misshapen ebelskivers that need a little patching.
If your ebelskivers are not perfectly round at first, that is completely normal. Most beginners need to add a bit more batter, turn them more than once and even gently nudge them into shape. This gets easier very quickly with practice, and even slightly uneven ebelskivers are still delicious.
Fillings like jam or Nutella can be tricky, even for experienced ebelskiver makers. These fillings melt quickly when heated, which is why they tend to ooze out.
A few tips that help:
- Use thicker fillings rather than runny ones
- Use less than you think, about half a teaspoon is usually enough
- Add the filling after the first partial turn, once a shell has started to form
- Fully cover the filling with batter before continuing to turn
Even with these tips, a little leaking can still happen, and that is just part of the process.
Those effortless looking videos online are usually made by people who have cooked hundreds of ebelskivers on deeply seasoned pans. If your ebelskivers are cooked through and taste good, you are already succeeding. Each batch builds confidence, and before long, turning them will feel much more natural.
Now you get to use your fun pan to make the pancake rounds. Have a skewer or clean crochet hook ready for easy turning.
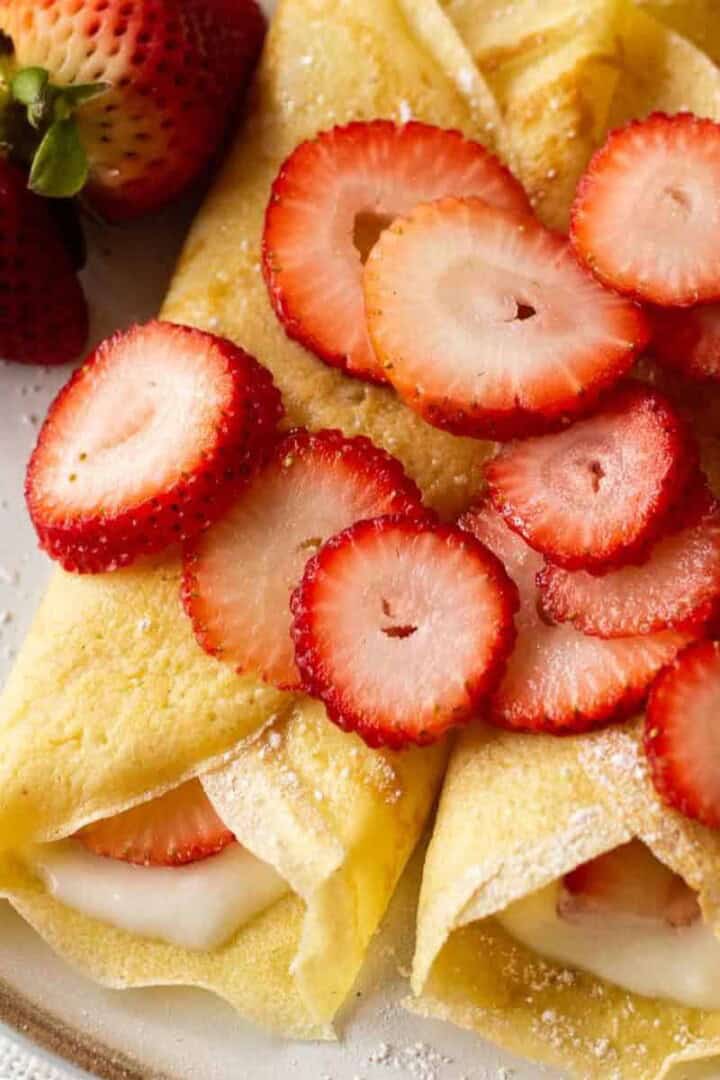
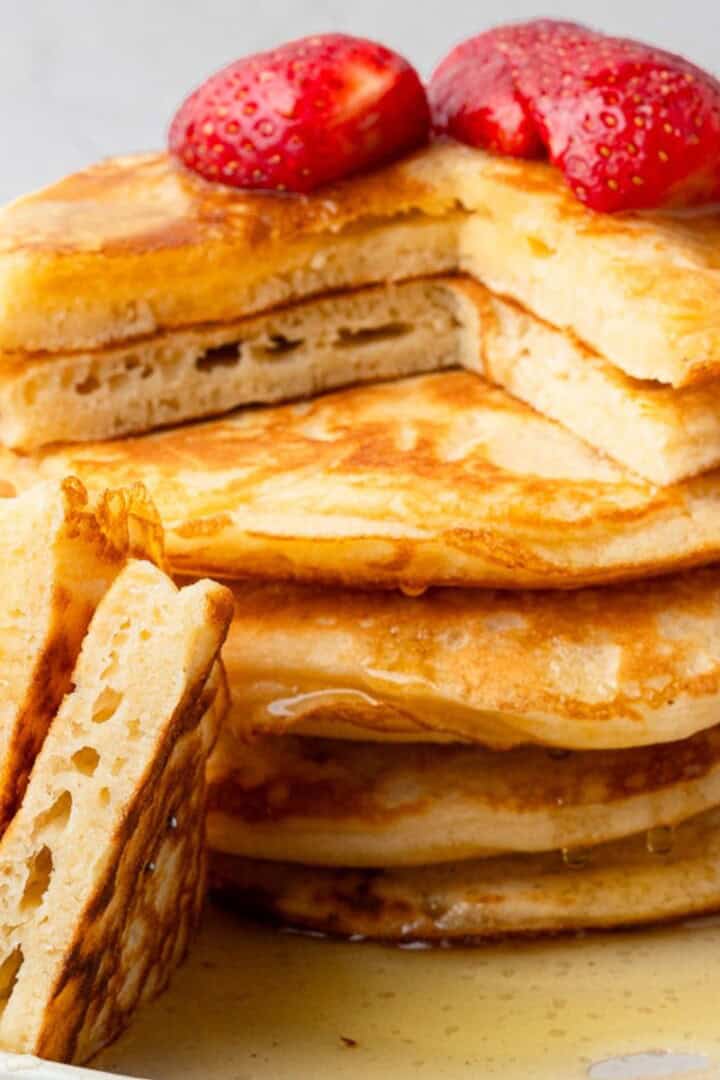
Need more pancake style recipes? Try these gluten free crepes or our gluten free pancakes.

More delicious breakfast ideas:
Our school breakfast pizza is a super quick way to start the day. Here are some gluten-free breakfast (20+ recipes) but I will always recommend our gluten-free breakfast casserole or easy gluten free quiche as well.
Need an EASY and delicious breakfast, lunch, dinner or dessert?
Take a look at my Sheet Pan Meals and More!
NEED MORE GOODNESS? Follow me on Facebook, Instagram, Pinterest, and Twitter for great recipes, entertaining ideas and more!
Authentic Ebelskiver Recipe (from my Danish grandmother...)

Ingredients
- 2 egg yolks
- 2 cups buttermilk
- 2 cups gluten-free all-purpose flour
- 2 ½ tablespoon sugar
- ½ teaspoon Real Salt
- ½ teaspoon baking powder
- ½ teaspoon baking soda
- 2 egg whites
- ¼ cups powdered sugar (optional)
Instructions
- Combine egg yolks, buttermilk, all-purpose gluten-free flour, sugar, Real Salt, baking soda and baking powder in a medium bowl until well blended
- Let the mixture rest for 30 minutes
- Beat two egg whites in a small bowl with an electric mixer until stiff peaks form and fold into pancake batter
- Heat an Ebelskiver pan over medium heat
- Spray generously with non-stick cooking spray or put a teaspoon oil to each cup
- When the pan is hot, pour batter into each cup until ¾ full
- When batter starts to bubble, make quarter turns with a needle until a ball forms
- Turn until golden and needle inserted comes out clean
- Sprinkle with powdered sugar and serve as is or with raspberry jam
Notes
Can I make these without an ebelskiver pan?
While an ebelskiver pan is necessary for authentic ebelskiver pancakes, but you can also try using a mini muffin pan on the stove top. The results will not be the exact same, but they will be similar.How to store
To store: Store leftover pancakes in an airtight container or ziplock baggie in the fridge for 2-3 days. Make sure that they're completely cooled before storing. To reheat: Reheat these ebelskivers in the microwave, oven, or even air fryer. I like to reheat them in the air fryer for a few minutes because they come out with the perfect crust.Recipe Variations:
- Apple pie: During the first quarter turn, add a small amount of cooked apple pie filling to the little pocket that forms in the batter.
- Nutella: During the first quarter turn, when that little pocket forms, add a small dollop of Nutella to the batter.
- Cinnamon and sugar: Drizzle a tiny bit of melted butter over the top of the ebelskiver and sprinkle with a cinnamon and sugar mixture.
- Ham and cheese: Once again, during that first quarter turn, add a bit of chopped ham (diced very small) and grated cheese to that little pocket of batter that forms.
Nutrition
This post was originally published December 7, 2019 but has since been updated with more in-depth information and new photos December 2024. Here is the original photo.


Terry says
I requested and received a vintage cast iron ebelskiver pan for Christmas, so I'm still very new to these and would like to request a troubleshooting guide! I used this recipe for my second attempt and found it more straightforward and less fussy than the first one, although I did add 1/4c sourdough discard (for better digestibility as I use organic white AP flour) to the batter and let it sit overnight, then added the salt and leavening in the morning before folding in the egg whites. They've turned out edible thus far but here have been my problems:
- I don't have a crochet hook and have found that anything metal/pokey tears a hole in the skin, so I've been using a small silicone spatula.
- The balls do not rotate easily, and I did find that adding more butter ahead of the batter helps but not enough.
- I have to let them get fairly cooked before they're sturdy enough to turn, and by then the balls are misshapen (as there's not much "flow" left to the batter) and I keep having to add more batter and turning them more to make them rounder.
- For this my second attempt I tried adding some jelly filling (a 1/2t or so) once the ball was mostly formed (as it would have oozed out if I'd added it after the first 1/4 turn) and covering it with a little more batter, but it's still very hard to keep it from liquefying and oozing out (which it did for most of them). I would expect the same to happen with Nutella or other semi-liquid fillings.
The videos I've seen of experts flipping perfectly spherical balls around the pan make it look so easy! I'm determined to keep practicing as I assume there's a learning curve, but I still wonder if there's something I'm doing wrong.
Chandice Probst says
I appreciate you taking the time to tell me all of this. It has inspired me to add more helpful tips and notes to the post that will make it even easier for others. You are right though, it is a bit of a learning curve and even as a Danish girl who has been making these since I was a kid, I still struggle sometimes. It reminds me of the first few pancakes in a batch, always an eat while you cook snack then you make the rest better.
Terry says
I see the updates - thank you!
Chandice Probst says
You are so welcome Terry 🙂
Judy says
Are they served warm or hot? I would like to make these for a Sunday morning feeding with our Sunday School class but they will definitely be cold by the time we get there. I’m putting a cast iron pan on my Christmas wish list!
Chandice says
We like to serve them hot as you cook them like pancakes. You can keep them warm under tinfoil or in the warm oven.
Adriana says
Just wanted to let you know this is the BEST ebelskiver recipe. I’ve tried others, but they turned out heavy and dense. These ebelskivers are lite and airy; incorporating the egg whites make all the difference.
Thank you for sharing this recipe.
Chandice says
Awww thank you so much! It is a recipe we've been making for years so I am glad to hear that you loved it. 🙂
Jean says
Do you bake in oven or top of stove? What temperature do you cook at?
Chandice says
They are made in an abelskiver pan on the stove over medium heat. Thanks, enjoy 🙂
Nancy says
It’s a family tradition to make ebskeivers so it made me happy to find your recipe! I love when other people know about them! I always struggle flipping them though, so thank you for your tips!
Cathleen says
I love this recipe so much!! I was afraid of turning them, but your steps and tips made it a breeze. Thanks so much for this recipe, I will definitely make it again 🙂
Chandice says
Thanks Cathleen, I am so glad you love it as much as we do!
silvia says
Our family is part Swedish and one of my sister in law has an ebelskiver pan she brings to every family get-together. We love making them together, I really like your recipe because it calls for gluten-free flour which I had at home. So easy to prepare and they were delish!
Chandice says
Thanks Silvia, what an honor that another Swedish gal like myself loves it as much as I do. Thanks!
Jacqueline Debono says
I definitely want to find a ebelskiver pan. These little puff pancakes are so good even borrowing one. Your Christmas party looked so friendly, cosy and warm. I want to delve deeper into the hygee lifestyle!
Leslie says
I purchased my pan on Amazon, wish I would have looked deeper and bought a cast iron. Kids will move out and take this one, then I will get cast iron. I'm ok with the one I have now, but they really need the crust that only cast iron can deliver.
Kayla DiMaggio says
What a fun recipe! I have never even heard of Ebelsivers before but they were so fun to make and delicious!
Chandice says
Thanks Kayla, so glad you loved them!
Tammy says
I've seen Ebelskiver around during the holiday season but I had never made it myself! It was so delicious and I cannot wait to try them again!
Adriana says
I am so glad I found your recipe for ebelskiver as I have the cast iron gadget to make them but have never used it. Your ebelskivers are so good!