

Making our charcuterie cones is the perfect way to have a charcuterie board on the go. They are a fun way to change up the traditional cheese board, and they are adorable! Grab some of your favorite meats, cheeses, crackers, and fruits to make a beautiful charcuterie cone. It is super easy and fun to make.
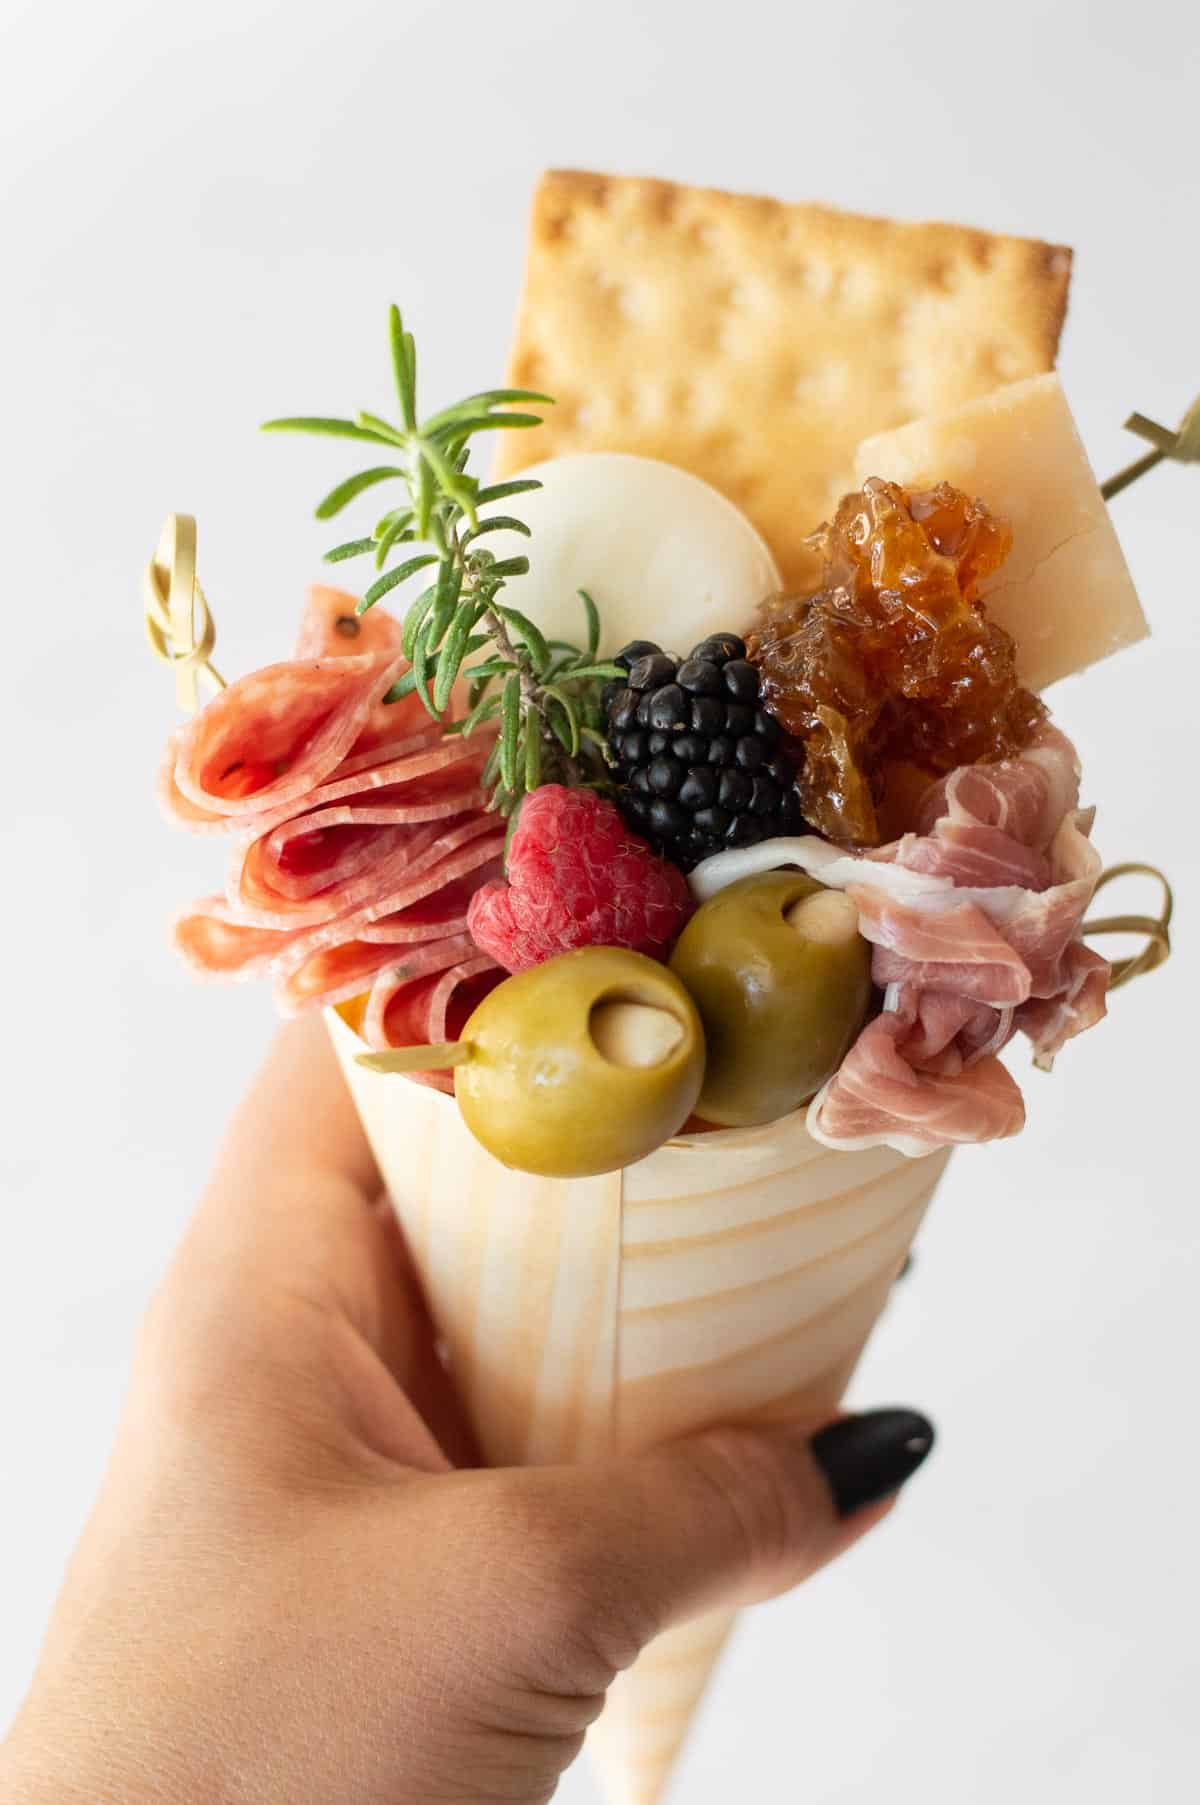
You have to have these charcuterie cones at your next event. I mean, come on, they're so cute. They take everything on a charcuterie board and put it in adorable hand-held cones.
These individual charcuterie cones are perfect for parties because guests can hold the cone and snack on it as they socialize. A cone makes it a lot easier to carry food. You can even give it more of an Italian charcuterie board vibe with Italian breadsticks and Italian cheese.
It's a quick grab and they don't have to worry about carrying around a plate. How cute and convenient would this be with our birthday charcuterie board recipe?
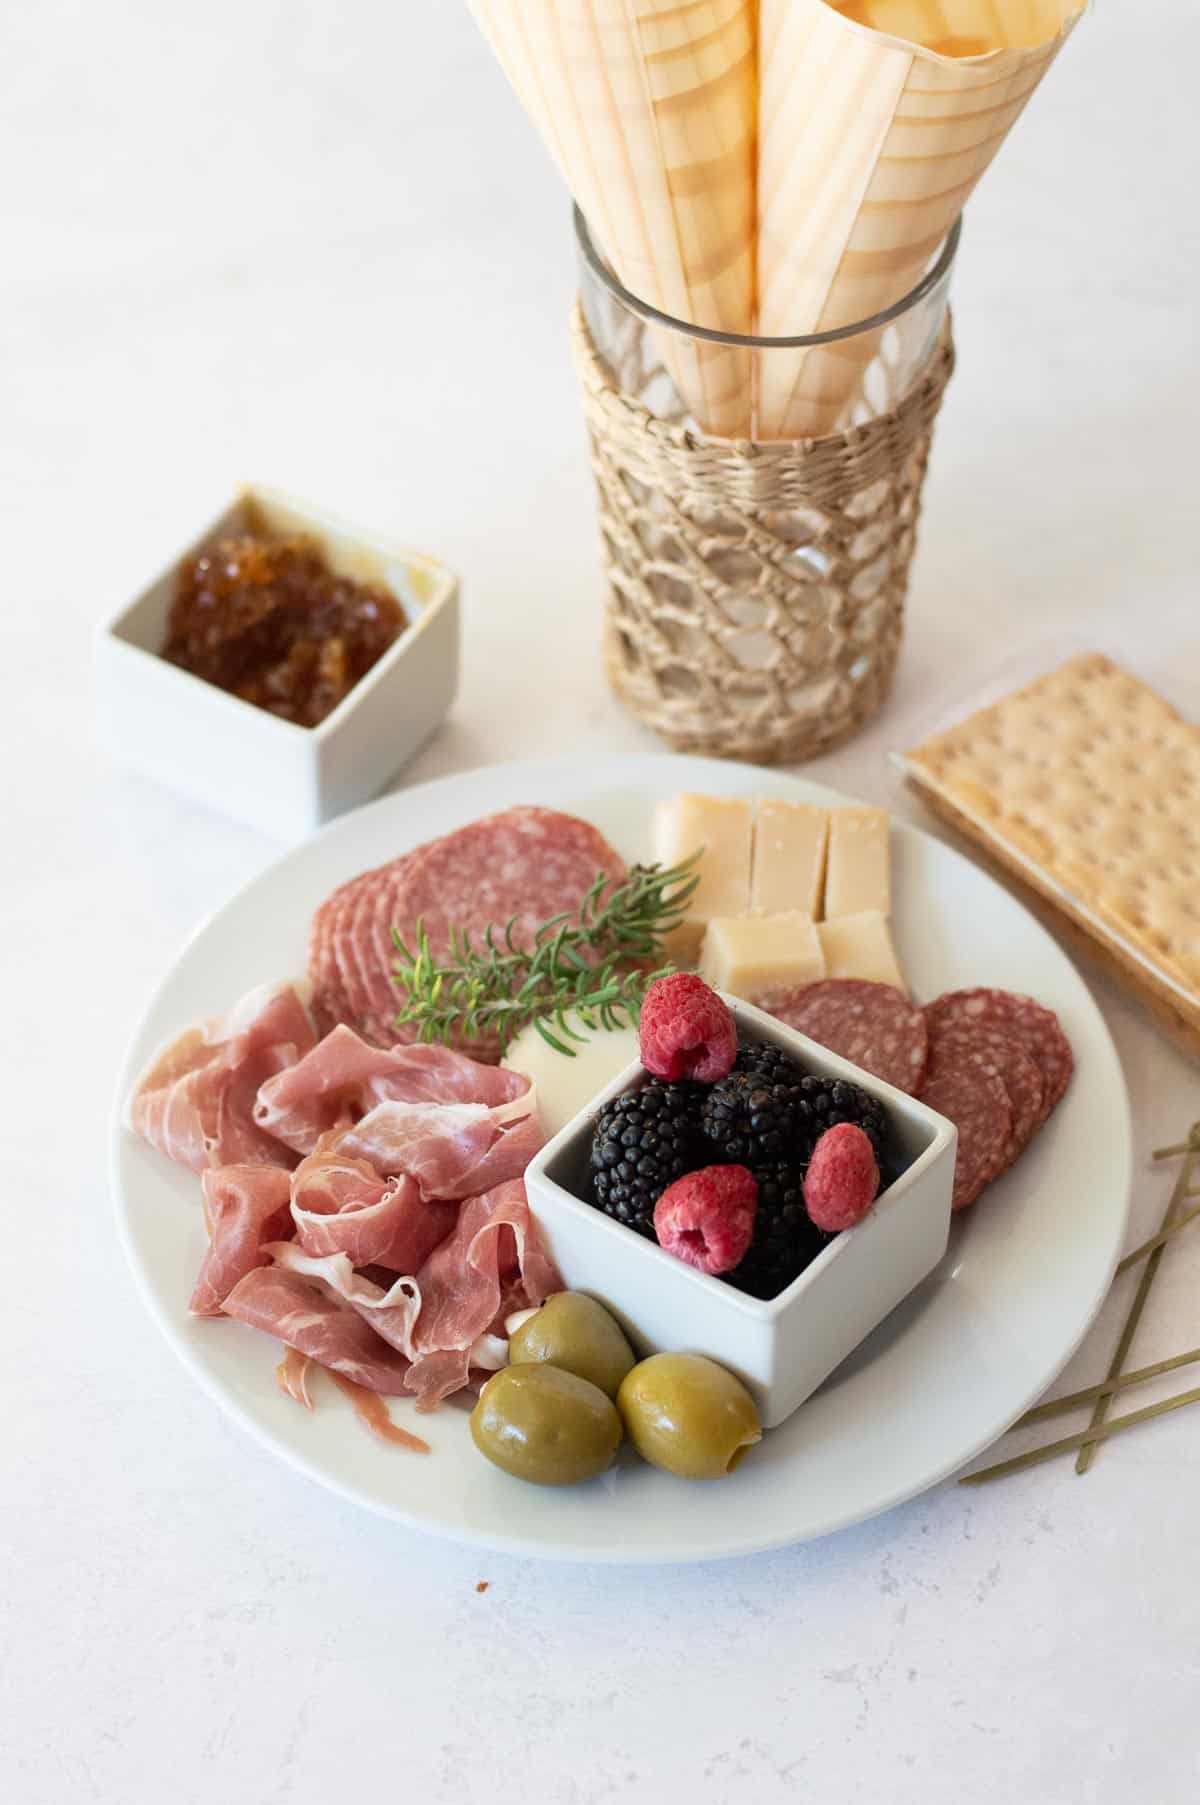
Anything you put on a charcuterie board can go into a charcuterie cone. So think of fresh fruit, fresh herbs, artisan crackers, cured meats, and cheeses. There are many different flavors and combinations that can be used in a charcuterie cone.
I have created a charcuterie board shopping list printable that will make shopping for this recipe so easy. And, the printable is free!
Top tip: Use seasonal fruit for the best flavors. You will also be able to have different-themed cones throughout the year with different seasonal fruits.
Except for fruit that needs to be sliced, you can make them 24 hours before when you are planning to serve them. You can arrange the cones how you want, wrap them in plastic wrap, then store them in the fridge 24 hours ahead of time.
Depending on how much fruit you need to add, pull out the charcuterie cones a few minutes before guests arrive. If you have a lot of fruit to add, take them out earlier so you can arrange the freshly cut fruit to your liking.
I love to buy disposable charcuterie cones since I am more BIY (buy it yourself) then DIY (do it yourself) but you can also make them. Simple cut out thick paper into circles then cut a slit half way up one and roll into a cone and secure.
One great thing about these adorable charcuterie cones is there will be little to no cleanup. Disposable cone holders can be thrown away, making less dishes for you to wash.
If we're having a ton of people over, I will usually put together a grazing table or charcuterie table (there is a difference) as it works better for a large amount of people.
How to make them
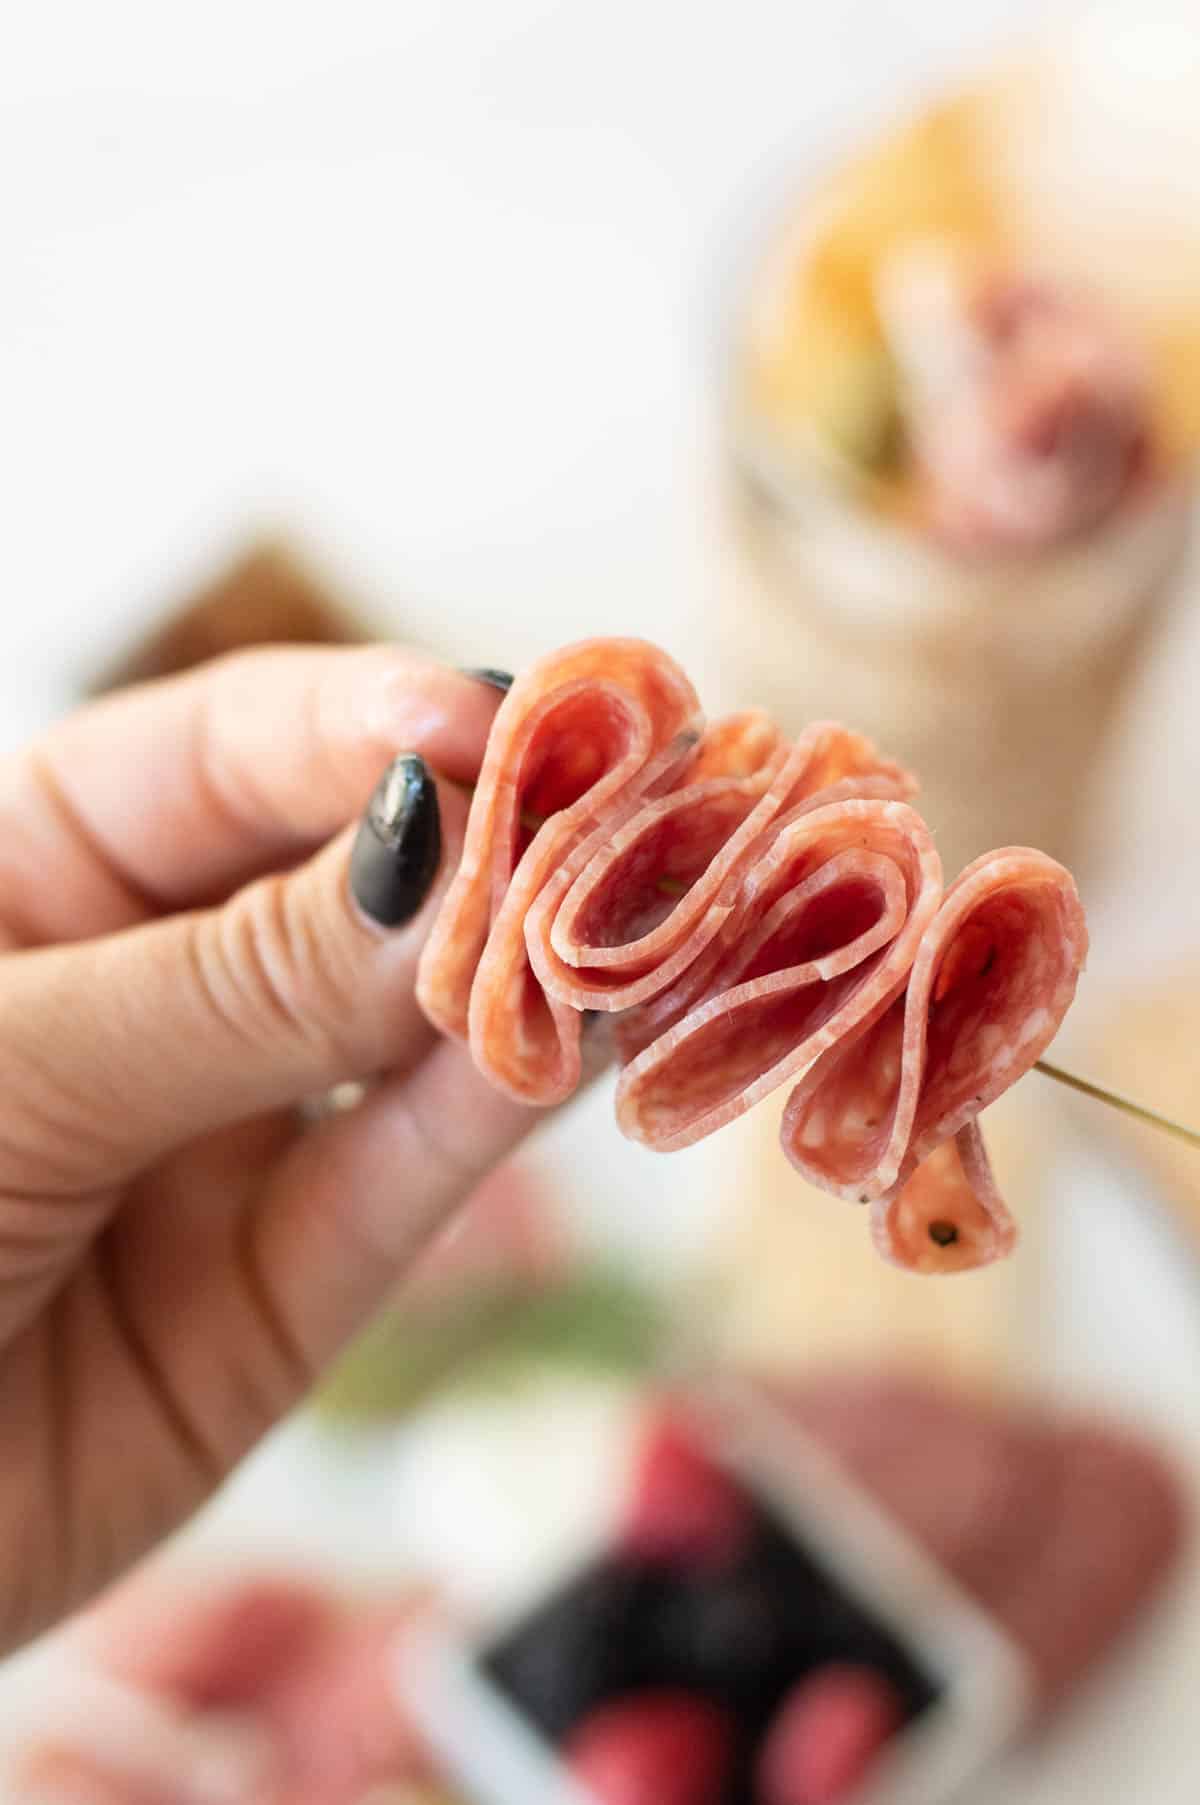
- Step 1: Get four charcuterie cones and place 2 ounces of cured meats on a pick as well as some olives on another pick inside
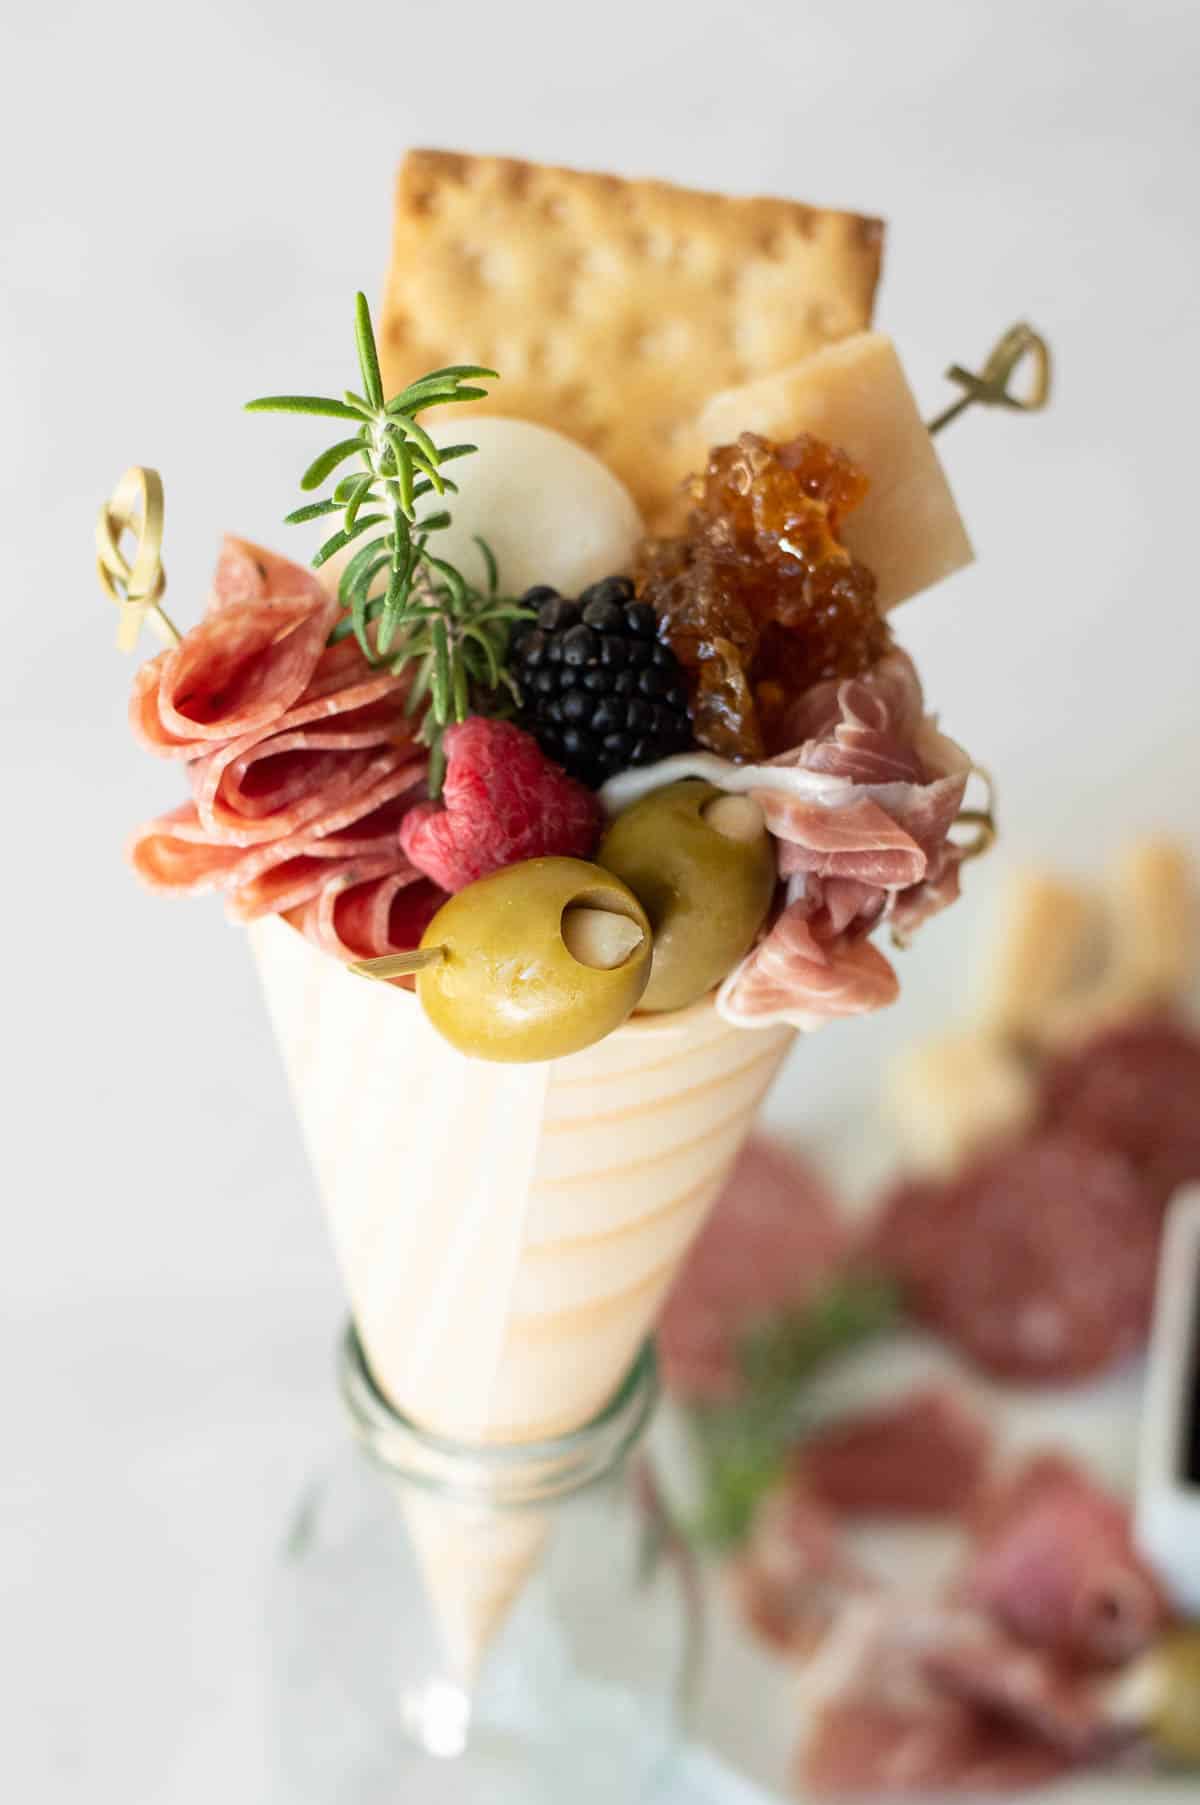
- Step 2: Add 2 ounces of cheese, crackers and some honeycomb if you'd like (I highly recommend it)
- Step 3: Finish by adding in fresh berries or fruit and the green herbs to give it a live, effervescent look if you'd like
Need an EASY and delicious breakfast, lunch, dinner or dessert?
Take a look at my Sheet Pan Meals and More!
NEED MORE GOODNESS? Follow me on Facebook, Instagram, Pinterest, and Twitter for great recipes, entertaining ideas and more!
How to Make Charcuterie Cones in 20 Minutes

Ingredients
- 8 ounces Cured meats
- 8 Olives
- 4 ounces Crackers (we use gluten-free)
- 8 ounces Cheese
- 4 ounces Honeycomb, honey or chocolates
- 4 ounces Berries or other fresh fruit optional
- Fresh greenery for esthetic optional
Instructions
- Step 1: Get four charcuterie cones and place 2 ounces of cured meats on a pick as well as some olives on another pick inside
- Step 2: Add 2 ounces of cheese, crackers and some honeycomb if you'd like (I highly recommend it)
- Step 3: Finish by adding in fresh berries or fruit and the green herbs to give it a live, effervescent look if you'd like



Lucy says
This is such a great idea! I did this for a birthday party and it was a huge hit!